

.png)
How to Integrate Your PrestaShop Store with Klaviyo
In this guide, you will learn how to integrate your PrestaShop store with Klaviyo. The process consists of two main steps: installing a Klaviyo module in PrestaShop and enabling the integration within Klaviyo. Additionally, we will cover how to monitor your data synchronization, generate coupons, and set up transactional emails.
Before You Begin
As of June 16, 2023, there are two different Klaviyo modules available for PrestaShop in the PrestaShop Marketplace: the existing Klaviyo by PrestaShop Partners and the PrestaShop Automation with Klaviyo.
Before integrating, you need to decide which module to use:
- If you're using PrestaShop Edition, you must use the pre-installed PrestaShop Automation with Klaviyo.
- If you’re using an open-source version of PrestaShop 1.7.0 or higher (e.g., PrestaShop 1.7.0 to 1.7.8, or PrestaShop Project 8.0 and above), you can use either module. Your choice depends on whether you plan to use PrestaShop back-office functionality in your open-source PrestaShop store:
- PrestaShop Automation with Klaviyo is designed to integrate with PrestaShop back-office features such as PrestaShop Account. Stores running PrestaShop Project 8.0 must install the PS_MBO module to use PrestaShop Automation.
- Klaviyo by PrestaShop Partners offers the same functionality but does not integrate with the PrestaShop back-office.
The table below provides more information about the two modules and their compatibility requirements:
Keep in mind that both modules (Klaviyo by PrestaShop Partners and PrestaShop Automation with Klaviyo) offer the same set of features and settings, as outlined in this article.
For PrestaShop Versions Older Than 1.7.0
If you’re using a version of PrestaShop older than 1.7.0 and want to upgrade to use a Klaviyo module, refer to PrestaShop’s upgrade guide to update your store.
Downloaded the Klaviyo Module Before June 2023?
At the end of this article, you’ll find information about earlier versions of the module, what’s available in the new module, and how to update.
Installing the Module in PrestaShop
If you’re using PrestaShop Edition, the “PrestaShop Automation with Klaviyo” module is already installed. You need to:
- If you're using PrestaShop Edition, the “PrestaShop Automation with Klaviyo” module is already installed. You need to:
- Log in to your PrestaShop store.
- In the left-hand menu, under Configure, select Klaviyo.
- Proceed to the next section of this article to configure the module.
- If you're not using PrestaShop Edition, go to the Klaviyo module page or the PrestaShop Automation module page on the PrestaShop Marketplace (depending on which one you've selected) and proceed to Step 3 of the installation process.

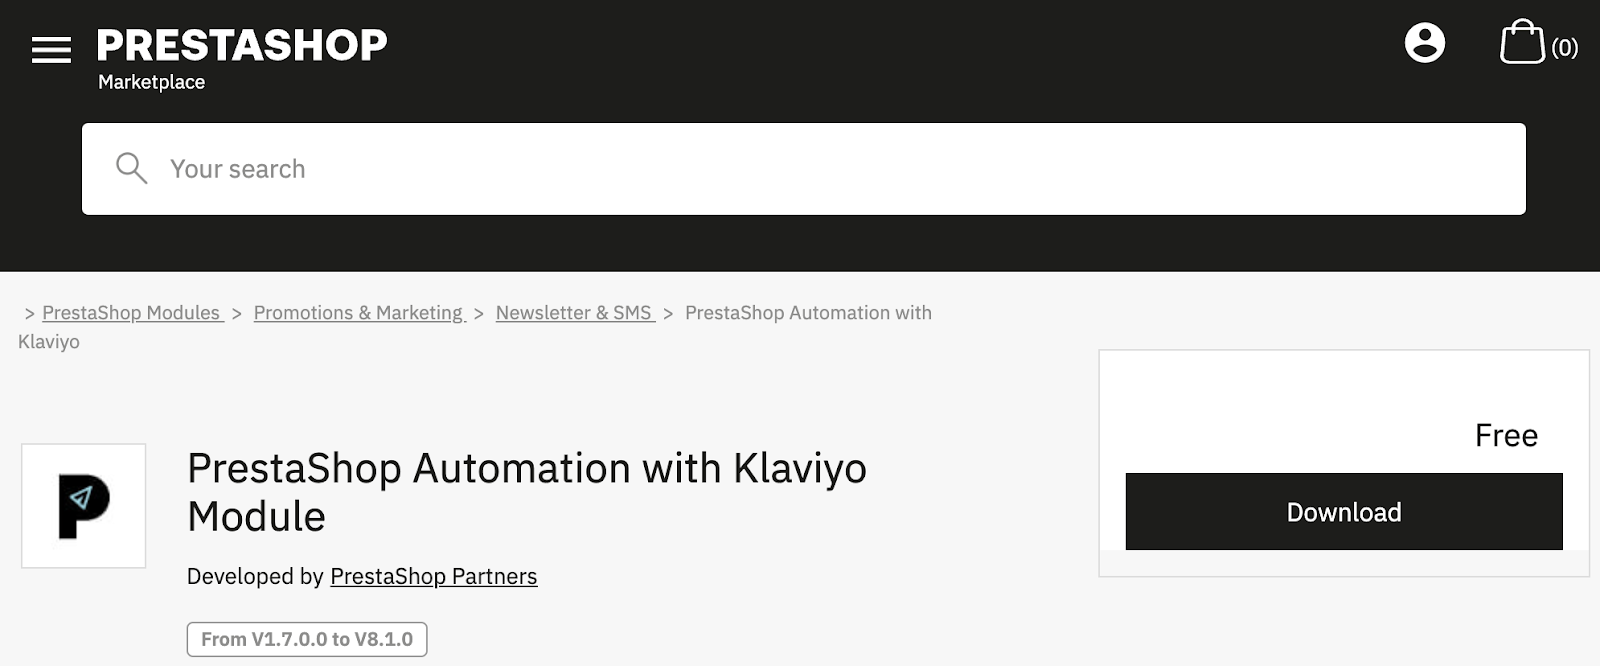
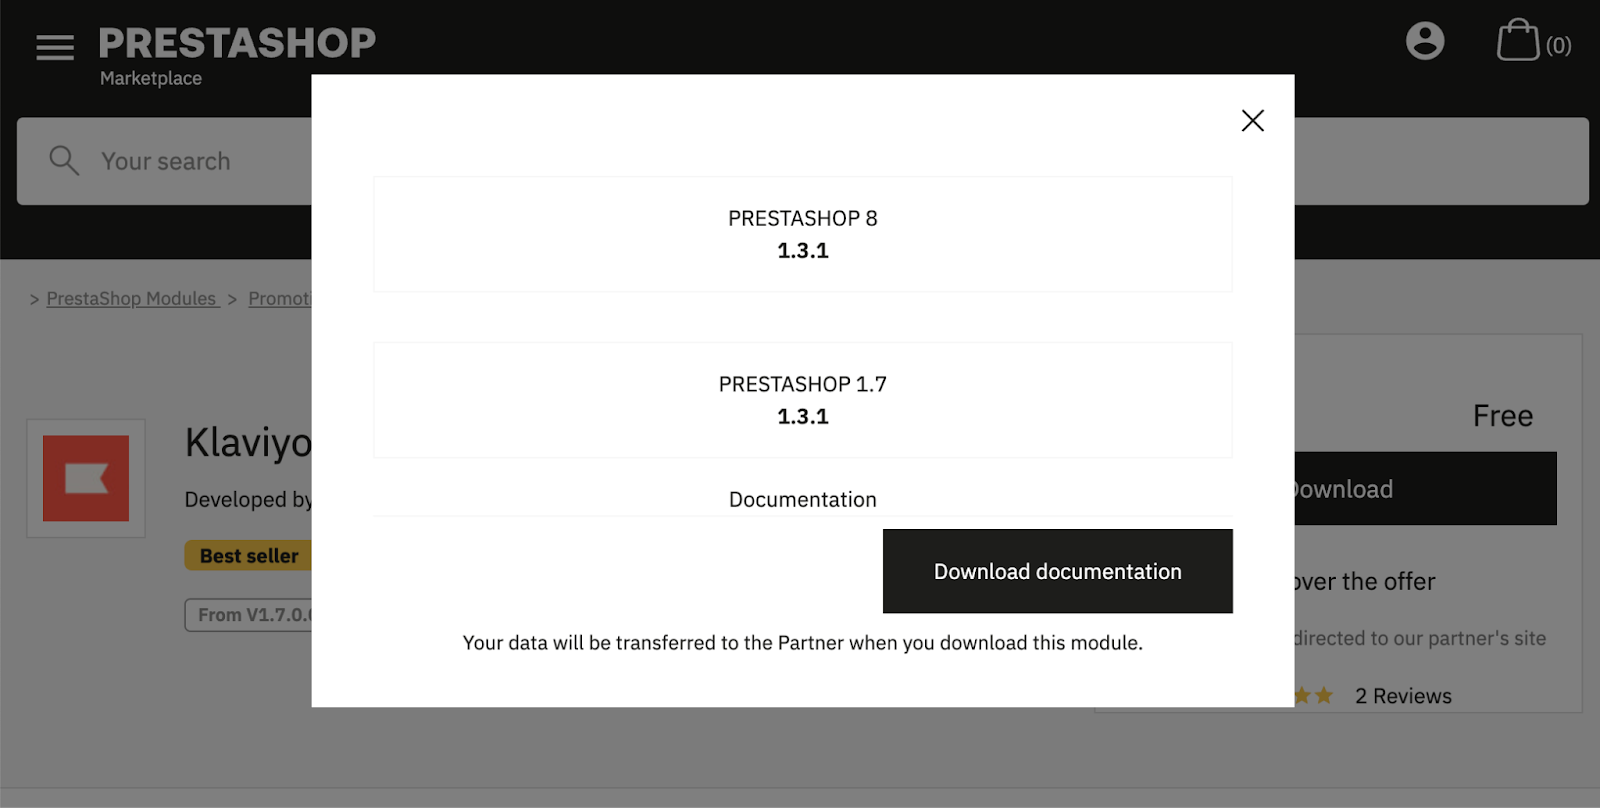
- On the module page, click Download. Validate your information if necessary, then select the version of PrestaShop you are using to download the zip file. You do not need to unzip the file.
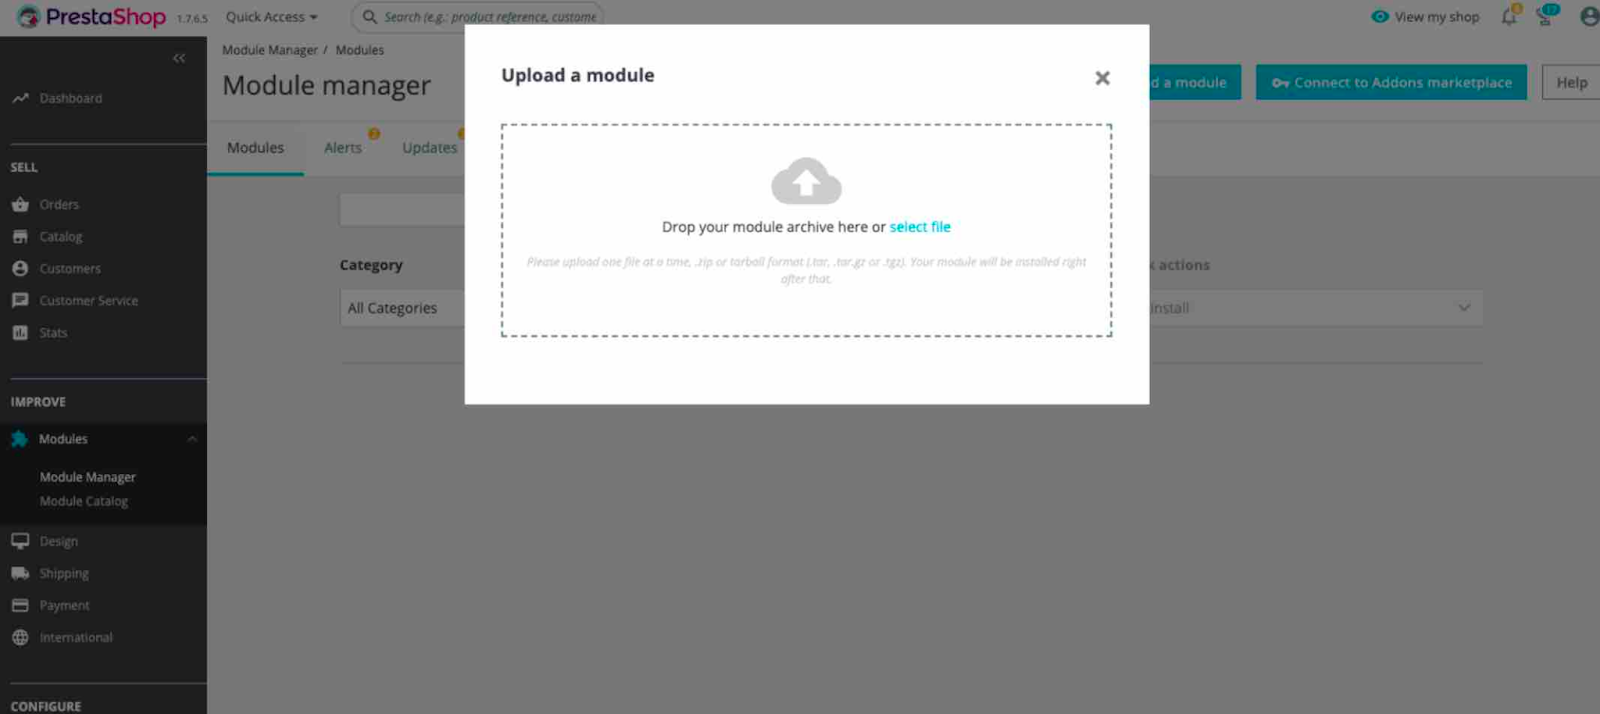
- Log in to your PrestaShop store and navigate to Modules > Module Manager. Click on Upload a module and drag the zip file into the module manager.
- After a successful installation, a message will appear. Then, click on Configure and proceed to the next section.
Configureer de module in PrestaShop
- You will need your Klaviyo public API key, as well as a Klaviyo private API key for use in PrestaShop.
- Log in to Klaviyo and click on your organization’s name at the bottom left of the screen.
- Go to Settings > API Keys.
- Copy your public API key and paste it into the corresponding field in PrestaShop.
- Back in Klaviyo, click on Create Private API Key, give it a name, select Full Access Key, and click on Create.
- Copy your newly created private API key and paste it into the corresponding field in PrestaShop
.
- Enable Send real-time order events to Klaviyo if you want transactional order events to synchronize in real time. These events can be used to send transactional messages and will appear as a second set of events labeled as transactional. For example, you'll see a metric in Klaviyo labeled Placed Order Transactional, which syncs in real-time, alongside a metric labeled Placed Order, which syncs every 30 minutes.

- Enable Turn off PrestaShop-generated transactional order emails if desired. We recommend leaving this setting disabled until your transactional emails are fully set up in Klaviyo. You can return to this page at any time and enable the setting to stop PrestaShop from sending transactional emails. Note: Enabling this setting will block transactional emails associated with Placed Order, Fulfilled Order, Canceled Order, and Refunded Order, as well as payment reminder emails.
- Enable Sync subscribers to a list in Klaviyo if you want to synchronize subscribers who are collected at checkout or through a sign-up form.
- Click Save to continue.
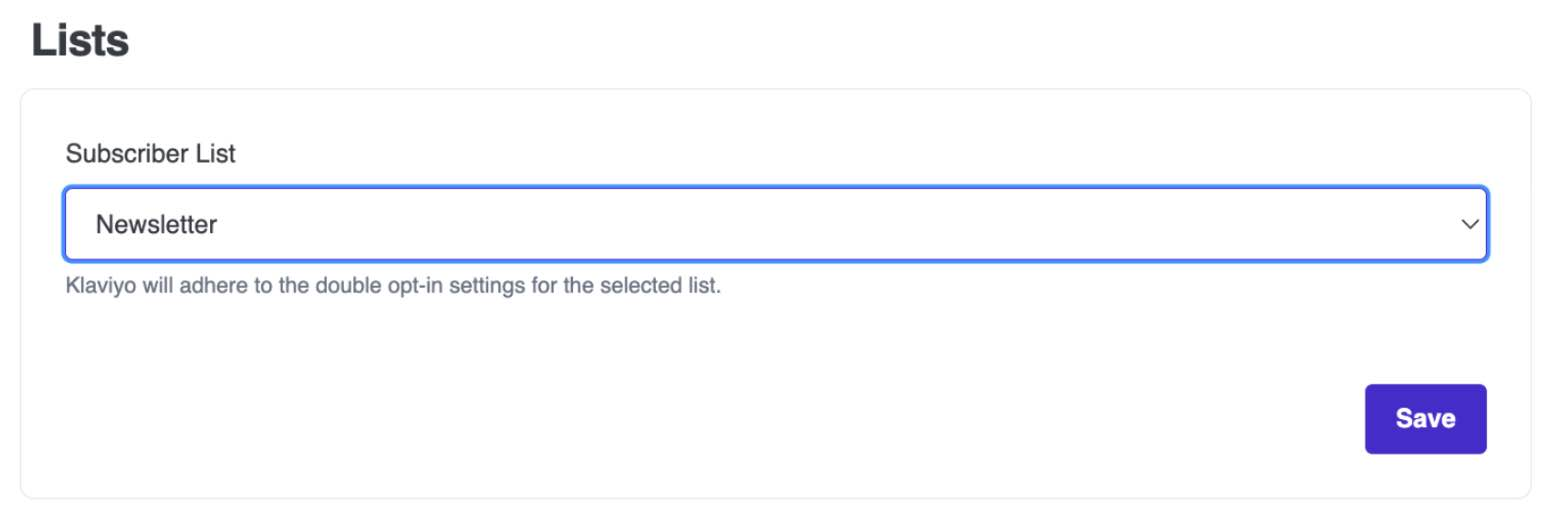
- If you have enabled the Sync subscriber setting, you will be prompted to select a list from the Klaviyo account linked to your API keys for subscriber synchronization. All new subscribers will be added to the list you choose. We recommend using your newsletter list.
- If you want to subscribe profiles to a Klaviyo list using the PrestaShop Newsletter Subscription module, ensure that you have the module enabled and that it is using version 2.6.0 or higher.
- Click Save to proceed.
- Next, complete the form for assigning order statuses by either accepting the default values or selecting different ones. Order statuses determine which order events are recorded in Klaviyo. You can select multiple values for each order event. Use Cmd or Ctrl+Click to select multiple values. The same value cannot be selected for multiple order events. Selecting a duplicate value will result in an error and cannot be saved. Both transactional and non-transactional events will follow the order mapping you select.
- When you’re finished configuring order statuses, click Save.
- You'll see a section where you can generate coupons. If you wish to generate discount codes, you can return to this page later. For more information, refer to the coupon section of this guide.
- Next, select Advanced Parameters within the Configure section of the left-hand navigation. Select Webservice. Copy the Klaviyo webservice key that has been generated for you and proceed to the next section.
This key will be used when enabling the integration in Klaviyo in the next step. We recommend validating that the webservice key has the correct Klaviyo permissions by selecting the pencil icon next to the Klaviyo webservice key. Scroll down through the list of all permissions and look for Klaviyo. Ensure that all permissions are checked. Click Save if you’ve made any changes.
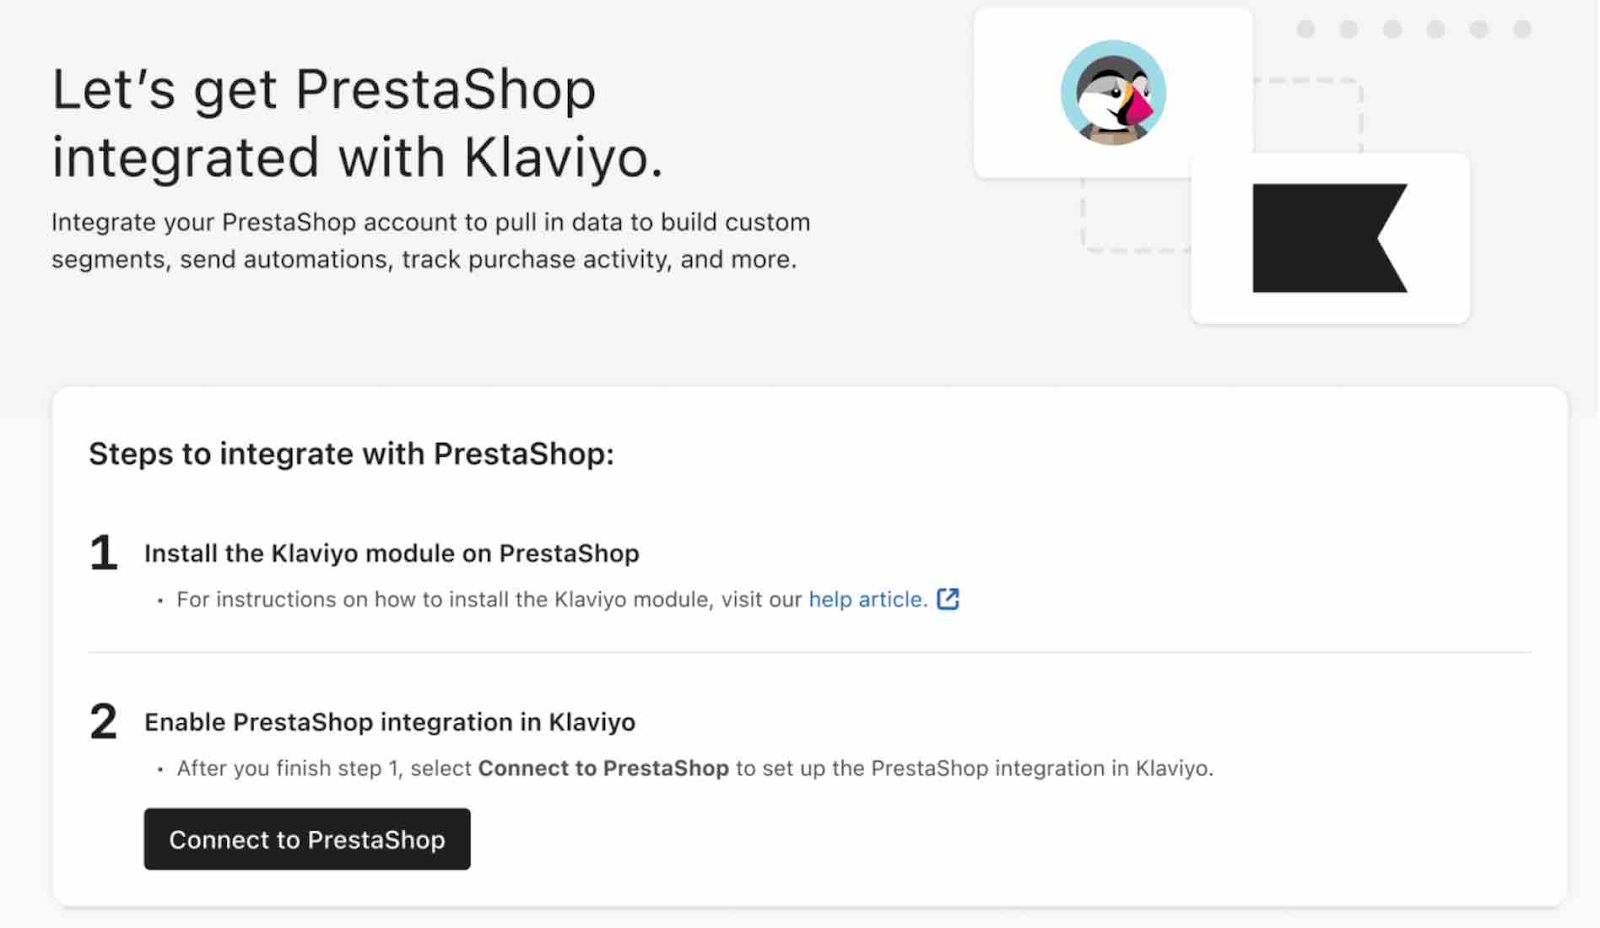
Schakel de integratie in Klaviyo in
- In Klaviyo, select the name of your organization at the bottom left.; Then, select Integrations.
- Click on All Integrations, search for PrestaShop, and click on Add Integration.
- On the next page, click Connect to PrestaShop.
- On the next page, enter your PrestaShop shop URL in the Shop URL field. You can find your shop URL in your PrestaShop account by navigating to Shop Parameters > Traffic & SEO > Shop URLs. Alternatively, you can click View my shop from any page within your account to quickly navigate to your PrestaShop site and retrieve the URL.
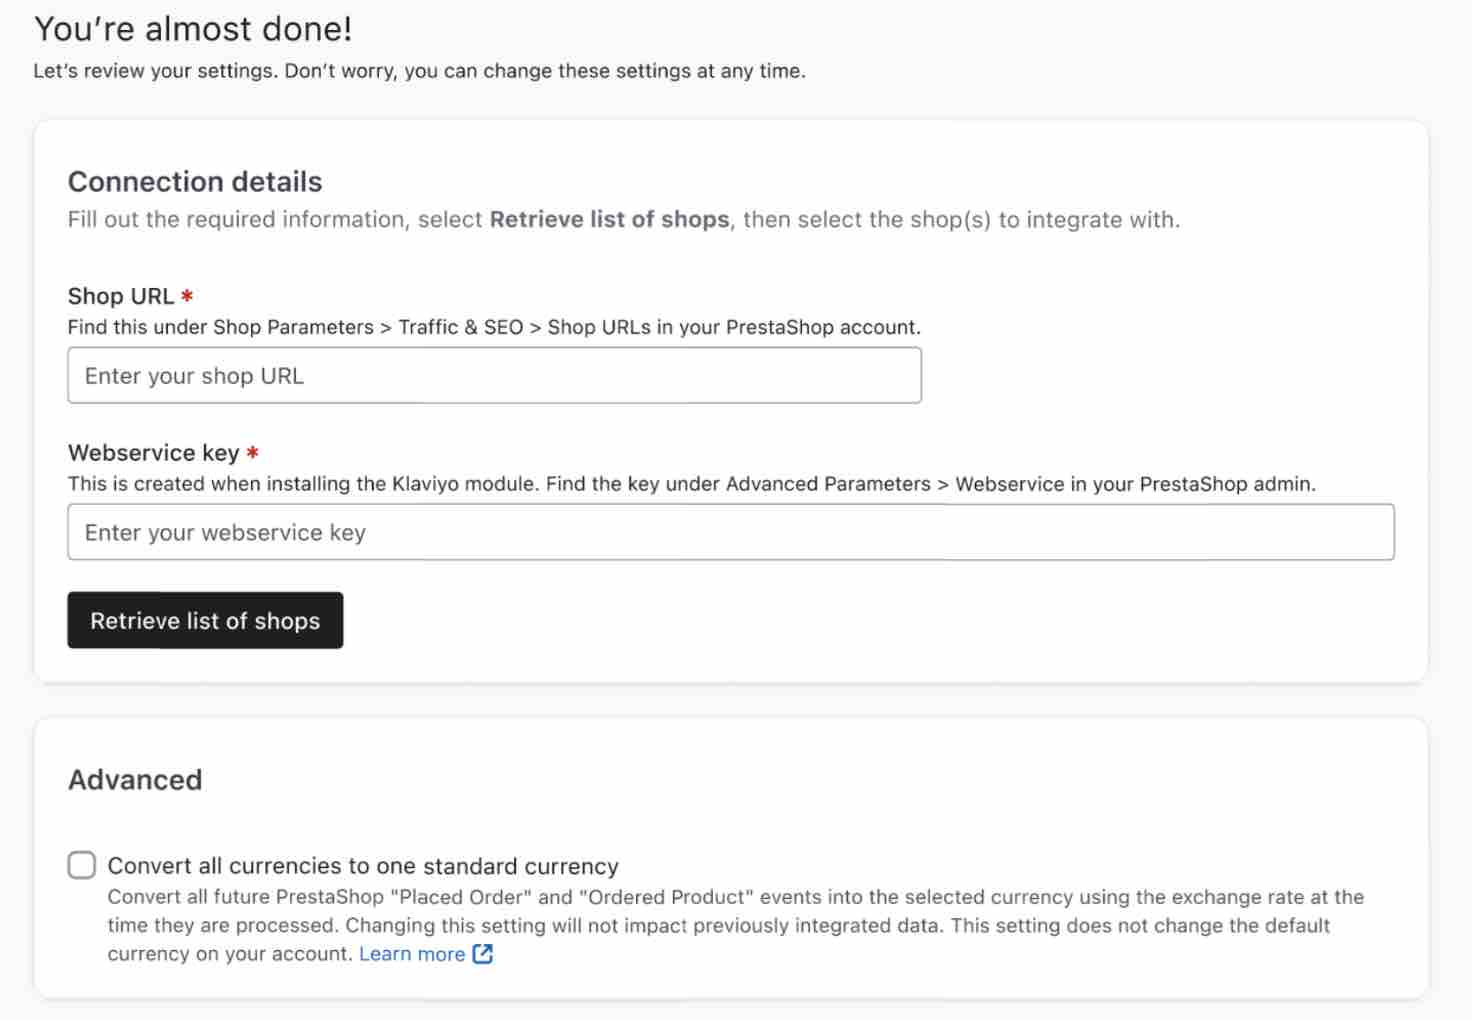
- Paste the Webservice key you copied from PrestaShop into the Webservice key field.
- If you want to convert all currencies used by your stores to one standard currency in Klaviyo, check the box Convert all currencies to one standard currency and select a global currency code from the dropdown list.
This does not change the currency of your Klaviyo account. Refer to our guide on changing the currency for your account if needed.
7. Retrieve a list of your available PrestaShop stores by selecting Retrieve list of shops. Then, check the boxes for the stores you want to integrate. You must select at least one store to proceed.
8. Click Connect with PrestaShop. You will see a success message indicating that your accounts are now connected.
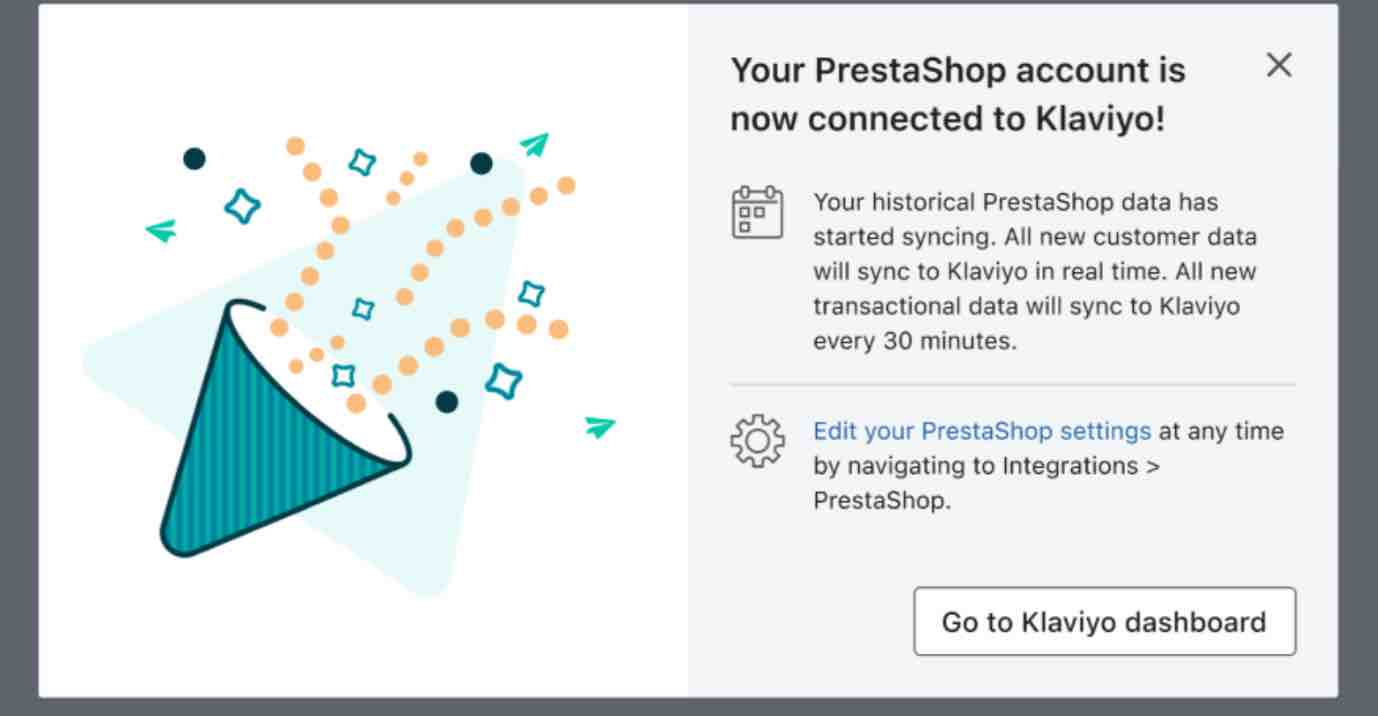
PrestaShop Data in Klaviyo
Three types of events sync from PrestaShop to Klaviyo:
- Order Events synchronized every 30 minutes (e.g., Placed Order).
- Transactional Order Events synchronized in real-time, if you choose to enable them (e.g., Placed Order Transactional).
- Klaviyo Onsite Events (e.g., Active on Site, Viewed Product, and Added to Cart).
You can view all these events in Klaviyo by navigating to Analytics > Metrics. Filter by PrestaShop to see order and transactional order events (they will have a PrestaShop icon), or filter by API to view Klaviyo onsite events (they will have a gear icon). For a complete list of metrics synced from PrestaShop, refer to Klaviyo’s PrestaShop Data Reference.
When you first integrate with PrestaShop, Klaviyo will sync the last 90 days of your data, so you can immediately begin engaging with your most recent customers. After the initial 90-day data sync, Klaviyo will start syncing your full historical data. Depending on the number of orders, customers, and products in your store, this process may take anywhere from a few minutes to several days.
We recommend that you allocate a minimum of 1024 MB of PHP memory during the historical sync to ensure it completes in a timely manner. Memory requirements can be reduced after the historical sync is finished, if desired.
When the sync is complete, the PrestaShop integration will be marked as Completed on the Integrations tab. To verify that all data from PrestaShop has been successfully synchronized, you can check the total number of orders for a few days or a week. Before starting the validation process, ensure that your account’s time zone matches the settings in PrestaShop.
- Click on the name of your organization at the bottom left.
- Select Settings.
- Select the Organization tab.
Generate Coupons for PrestaShop
If you want to generate PrestaShop coupons to use in Klaviyo, follow these steps:
- In your PrestaShop admin, select Klaviyo from the left-hand menu (under Configure).
- Scroll down to the Coupons section.
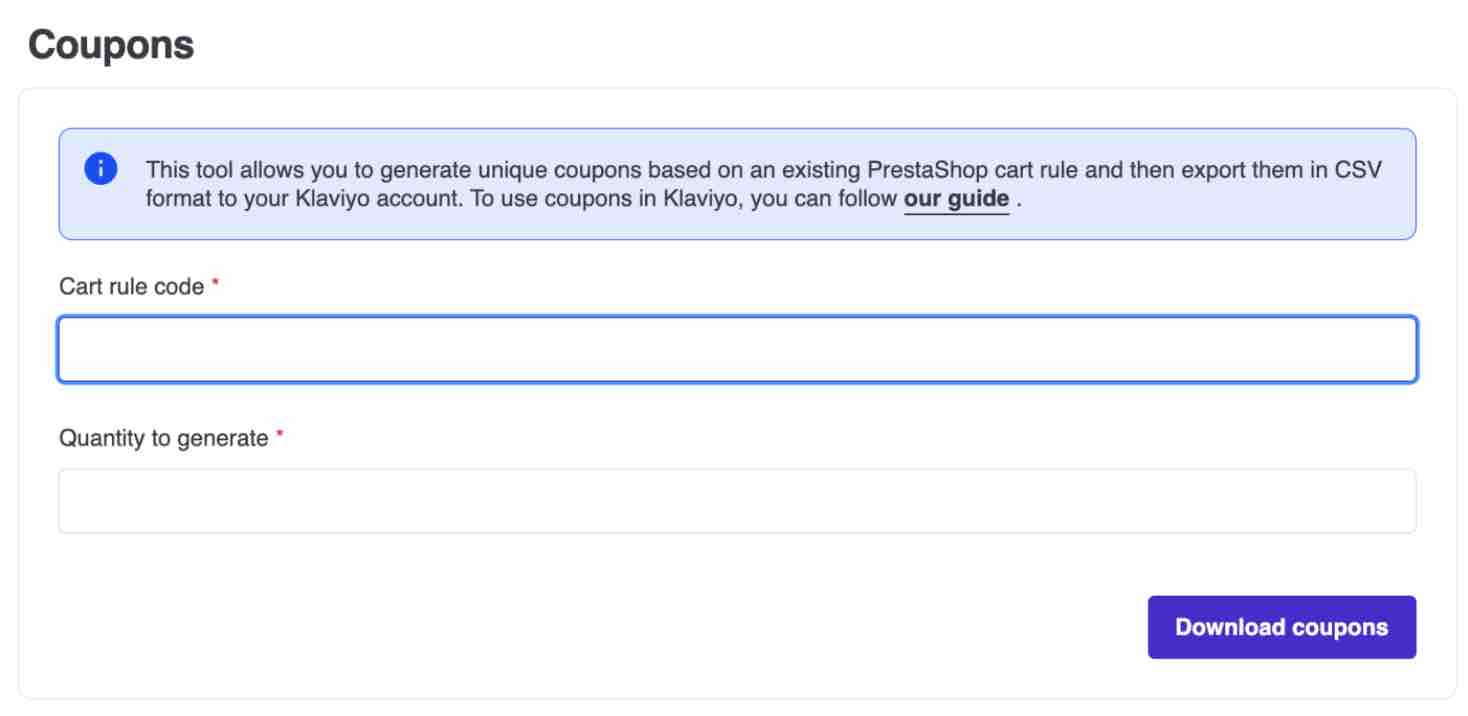
- Enter a Cart rule code and specify the number of coupons you want to generate. Make sure that the Cart rule code matches the Code field for the coupon in PrestaShop.
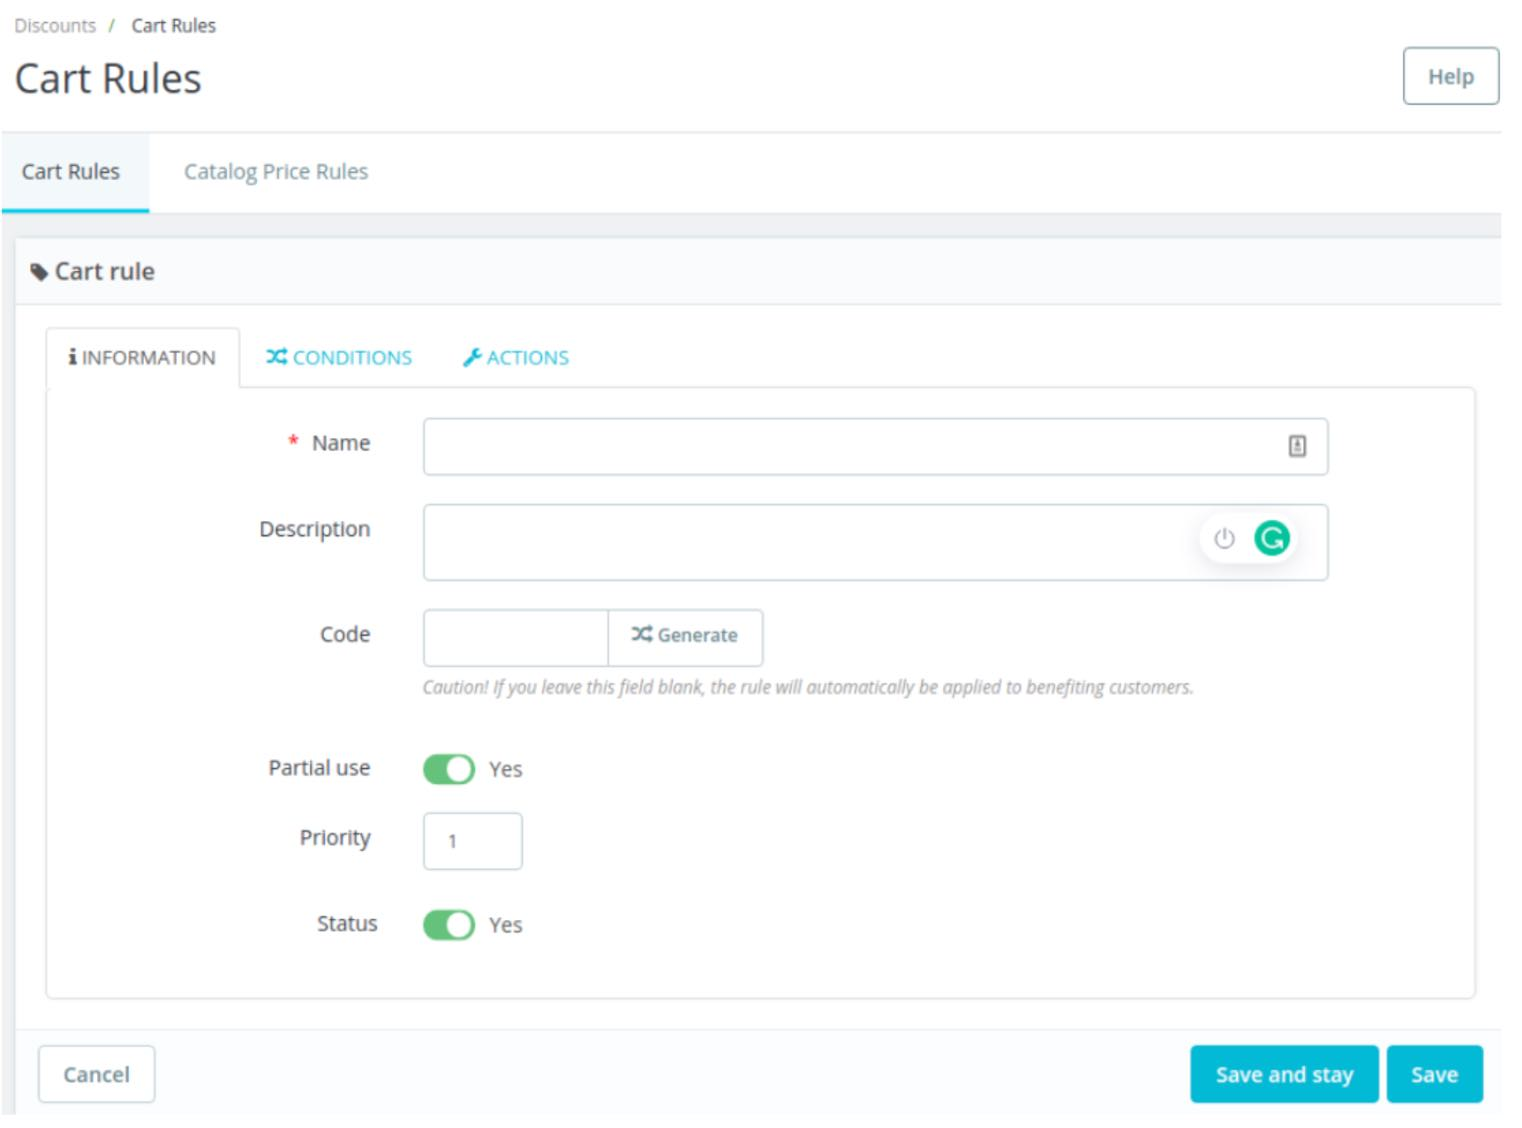
- Select Download coupon to save the coupons you've generated.
- Upload the coupons into Klaviyo by following the steps outlined in Klaviyo’s Coupons Guide.
Send Transactional Emails
Would you like to send transactional emails using real-time order data synchronized from PrestaShop? You’ll need to create flows from scratch in Klaviyo to achieve this.
- Read the guide on How to use flows to send transactional emails to understand how transactional emails work in Klaviyo.
- Set up the flows, and then reach out to the Klaviyo support team to get them approved.
Once your transactional flows are approved, you can disable the sending of transactional emails in PrestaShop and activate your transactional flows in Klaviyo.
Werk je module bij
Did you download the Klaviyo module before June 2023? If so, we recommend updating to the latest version. The updated Klaviyo module allows you to:
- Easily display the real price and include tax for products promoted in your emails.
- Send transactional emails to your customers with real-time event synchronization.
- Quickly generate and import bulk coupons into Klaviyo.
To access the latest features and functionality, update the Klaviyo module to version 1.3.0 or higher. To do this, uninstall and reinstall the Klaviyo module from PrestaShop. Then, re-integrate PrestaShop with Klaviyo following the steps in this guide.
Important Note: After completing the upgrade, any cart rebuild links used in abandoned cart emails sent before the upgrade will no longer work. However, all abandoned cart emails sent after the upgrade will function correctly.
The Result
You have now successfully integrated PrestaShop with Klaviyo and can start using Klaviyo for your marketing needs.
If you have any questions after reading this article about integrating PrestaShop with Klaviyo, feel free to contact Polaris Growth.

Blog posts van Polaris Growth
Andere artikelen


Polaris Growth is a CLV e-commerce agency. We support ambitious online stores with: Klaviyo, conversion optimization, data & analytics and ecommerce strategy.