How do you integrate Trengo with Klaviyo? A step-by-step guide


In the rapidly changing world of e-commerce marketing, integrating Klaviyo with Trengo is a useful step for efficient automation. This blog post will guide you through the process of integrating Klaviyo with Trengo, sending automated WhatsApp messages, and setting up a WhatsApp newsletter.
What's more, with the Klaviyo integration, you can do much more than that. You can find all of Trengo's API calls on this Trengo for Developers page.
Preparing for Integration
Essential to this integration is having a WhatsApp template. Before you start integrating Klaviyo and Trengo, make sure you have a functional template.
Creating a Flow in Klaviyo
To send an automated WhatsApp template via Klaviyo, creating a flow is essential. The steps are:
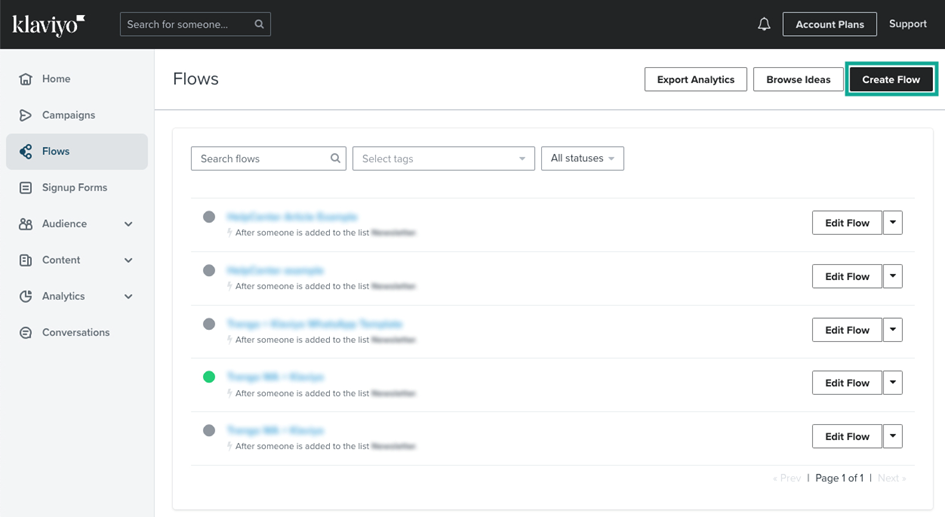
1. Within Klaviyo, navigate to 'Flows' and choose 'Create Flow'.
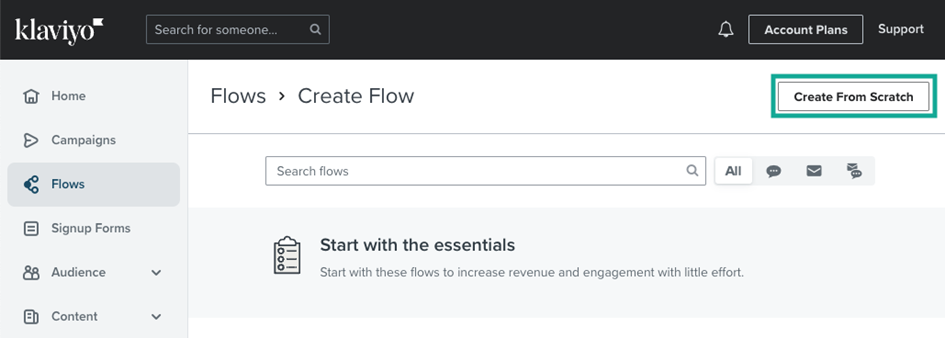
2. Start with “Create From Scratch'to design a personalized flow.
3. Name your flow and add tags if necessary.

4. Choose and add a trigger. (For more information about Klaviyo triggers, visit the Klaviyo Help Center).

5. Integrate the “Webhook” action in your flow.

Webhook Configuration in Klaviyo for Effective Trengo Integration
Once you've created your flow, chosen your trigger, and added the “Webhook” action, it's time to configure your webhook. To configure your Klaviyo webhook for Trengo, follow these steps:
1. Enter the destination URL for the webhook.
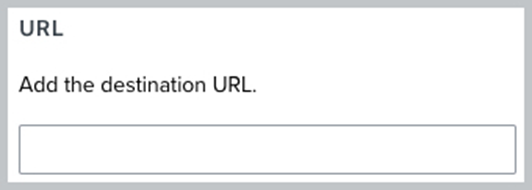
(You can find this URL at Trengo for Developers page, under the title of the API call that you want to activate.)
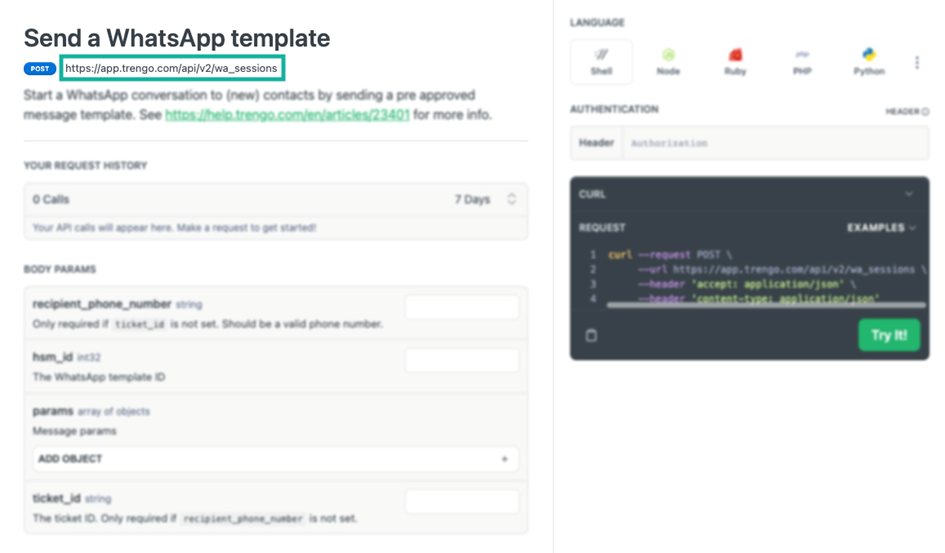
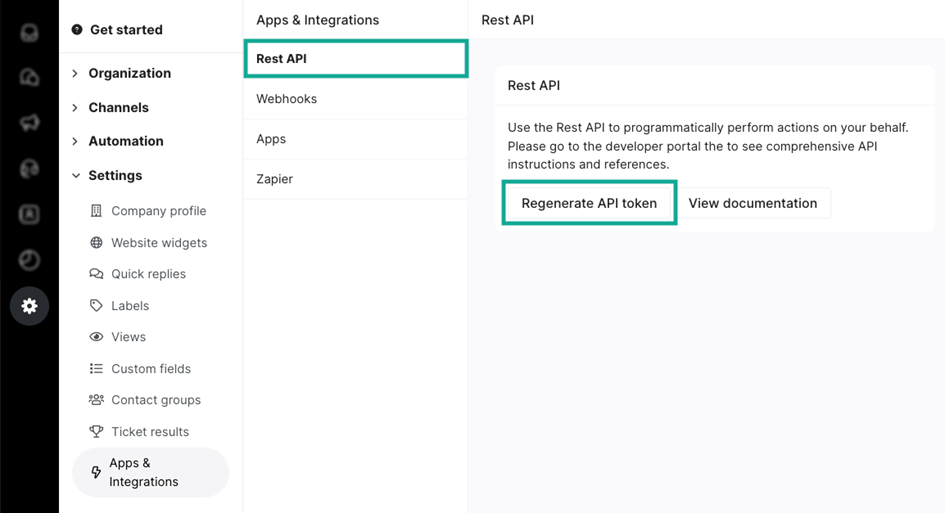
2. Use “Authorization” and “Bearer” with your Trengo API key.

(This API key can be (re) generated by going to Trengo > Settings > Apps & integrations > Rest API > Regenerate API token. Note that regenerating your API token will invalidate the current token.)
3. Go back to the API call you want to activate on the Trengo for Developers page. Configure the JSON body of this API call. In this example, we'll set how to create a 'WhatsApp template''sends; Add details such as 'Recipient_Phone_Number' and 'HSM_ID' toe.
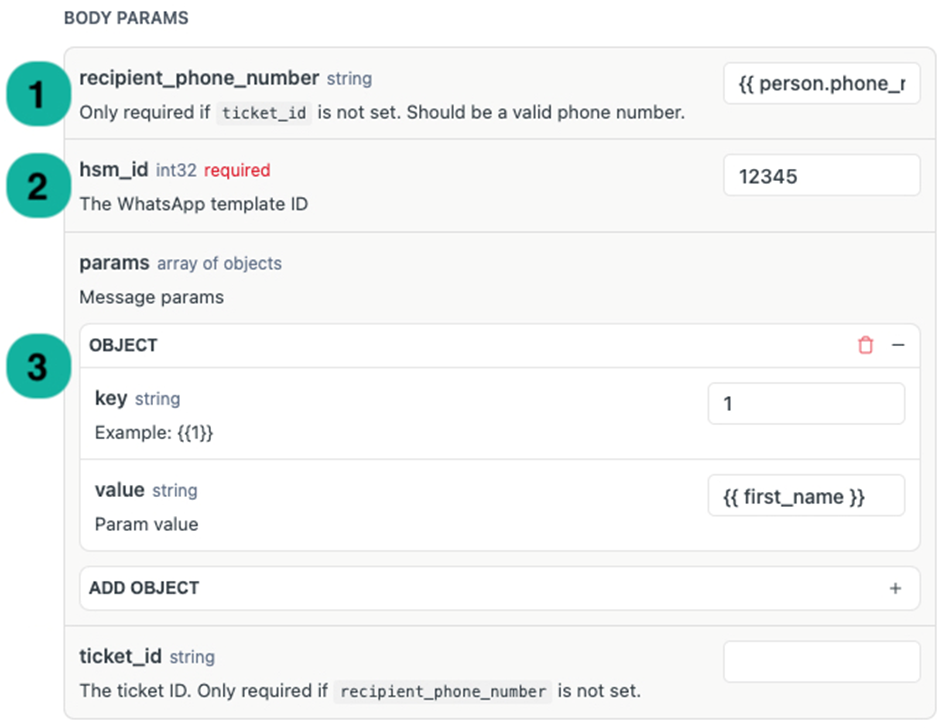
4. Add details such as 'Recipient_Phone_Number' and 'HSM_ID' toe.
yes. Recipient_Phone_Number: Add here Klaviyo's tag '{{person.phone_number}}' toe.
b. HSM_ID: Paste the ID of the WhatsApp template you want to use here. This ID can be found by going to 'Manage Templates' to go into Trengo, select the template and copy the numbers at the end of the URL.
c. Parameters: As your WhatsApp template variables contains, you can specify them here. Add the correct number for “Key” and add a value. You can use Klaviyo tags here (e.g. '{{first_name}}').
d. If you want to add (more) variables, click “Add Object”.
5. Copy content, from the green opening bracket to the green closing hook, from the sample request.
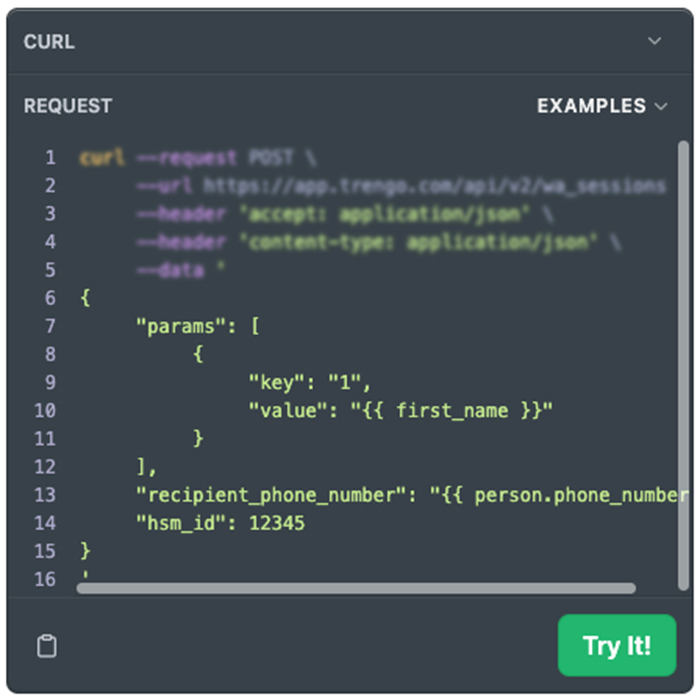
6. Back in Klaviyo, paste the JSON body of your API call;
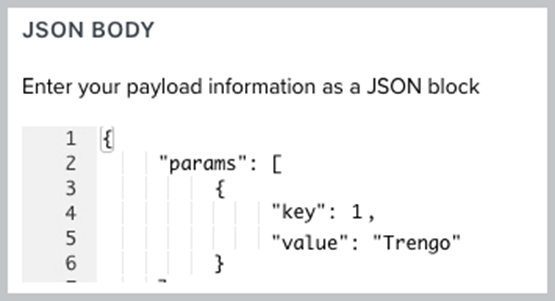
(If you're using variables, make sure to include the quotes around the “Key” values deleted.)
7. Optionally, you can preview your webhook by clicking “Preview” Webhook'to click

8. Save your webhook by clicking 'Save' to click;

Now that you've configured your webhook, it's time to publish your flow in Klaviyo.
Publish your flow in Klaviyo for Automated Messages
After you've created your flow and chosen your trigger, added the “Webhook” action, and configured the webhook, you can now publish your newly created flow.
Publish your flow in Klaviyo Follow the steps below to publish the flow you created in Klaviyo.
1. Click “Review and Turn On” in the upper right corner;
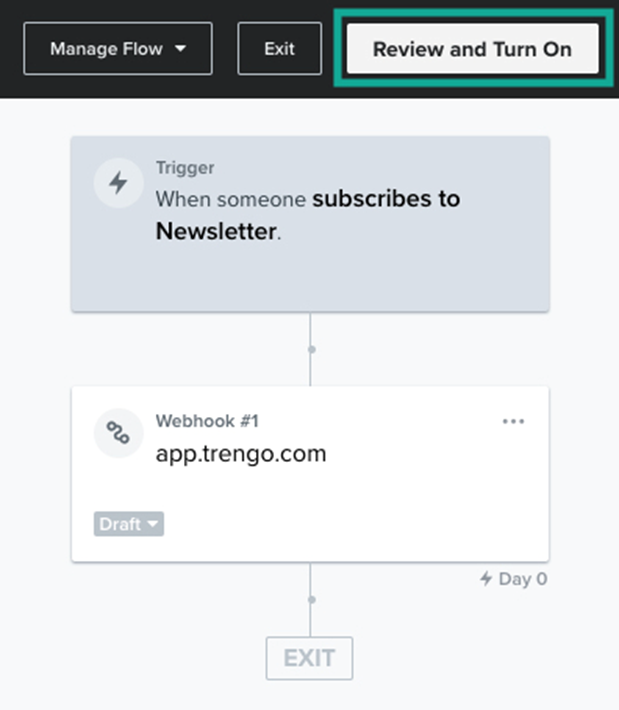
2. Review your Flow and set the action status to “Live”, and click 'Turn On'.

You have now published your Klaviyo Flow. Please note, it's important that your customers have signed up to receive your automated WhatsApp messages (e.g. newsletters).
After reading this article, do you still have questions about how to integrate Trengo with Klaviyo? Get in touch with Polaris Growth for more advice.
%20(1).png)


