

Overview
The Setup Wizard has several tabs to assist you in setting up your Klaviyo account. This guide provides a brief overview of each tab to help you with this process.
Setup Tab (*Required)
You must complete the Setup tab to proceed with the Setup Wizard. Please note that you cannot go back to edit this specific tab once you have completed the Setup Wizard. Any changes you wish to make after initially going through the Setup Wizard must be done in your account settings.
Adding Business Information
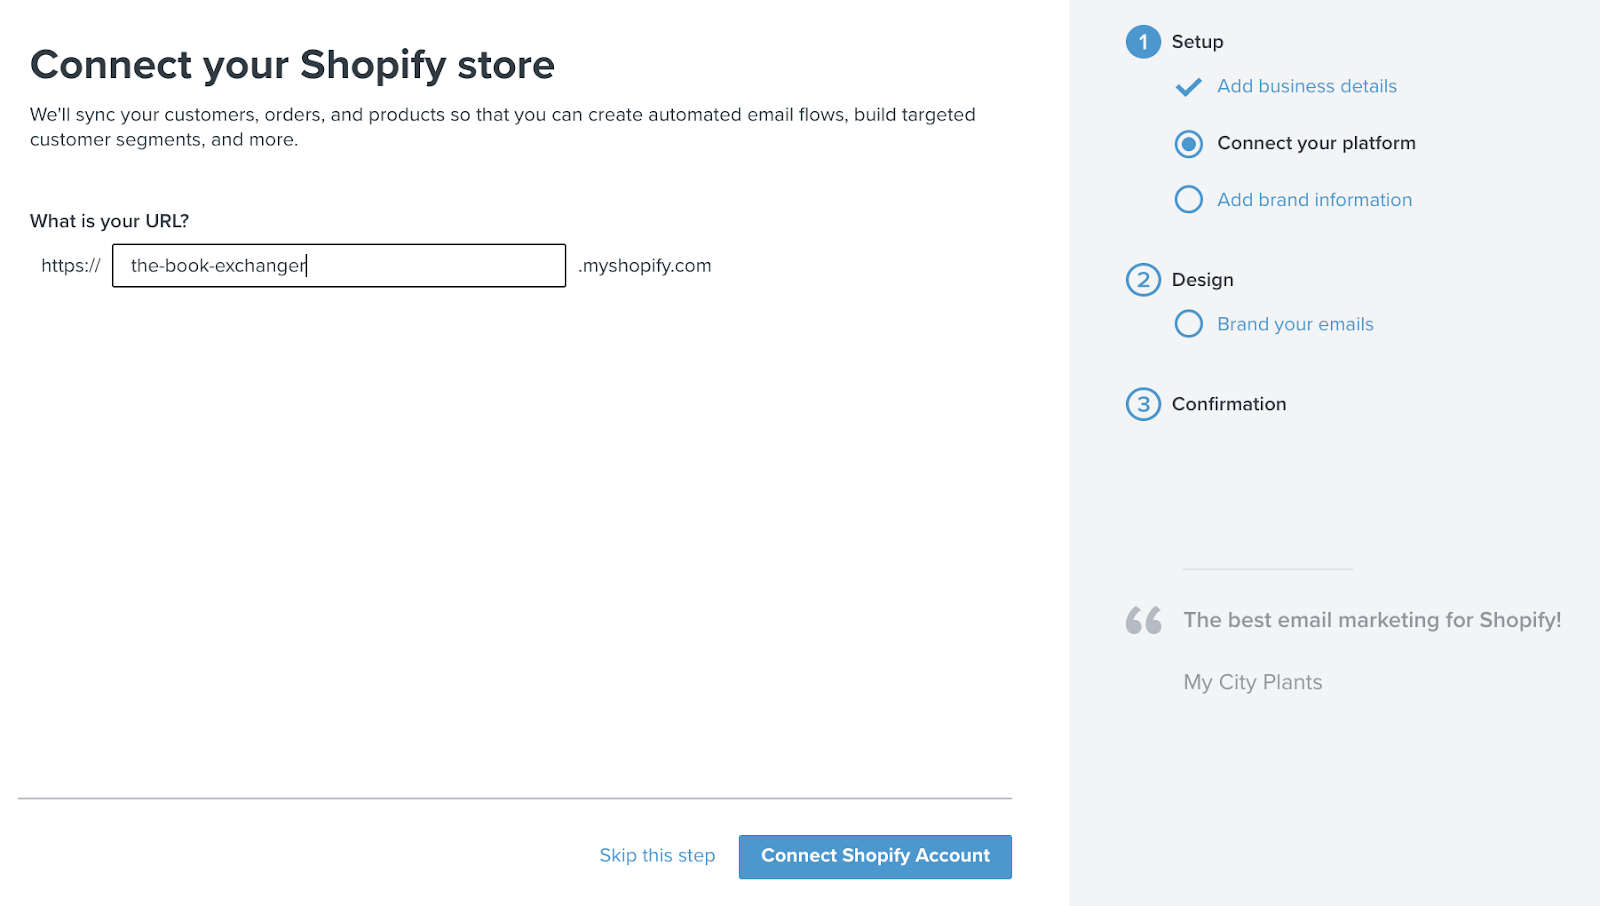
Enter your website here, select your business type, and choose the platform you want to integrate with. If you do not see your integration in the list of available integrations, click on Show More. If you still do not see your integration, select Other.
Entering a website and selecting a business type are required to proceed to the next step.

Connect Your Platform
When you click on Continue, you will be prompted to connect your integration with Klaviyo.
If you are not logged into your account, you will be asked to verify yourself. Once the integration is synced, you will see a success message.
Adding Your Brand Information
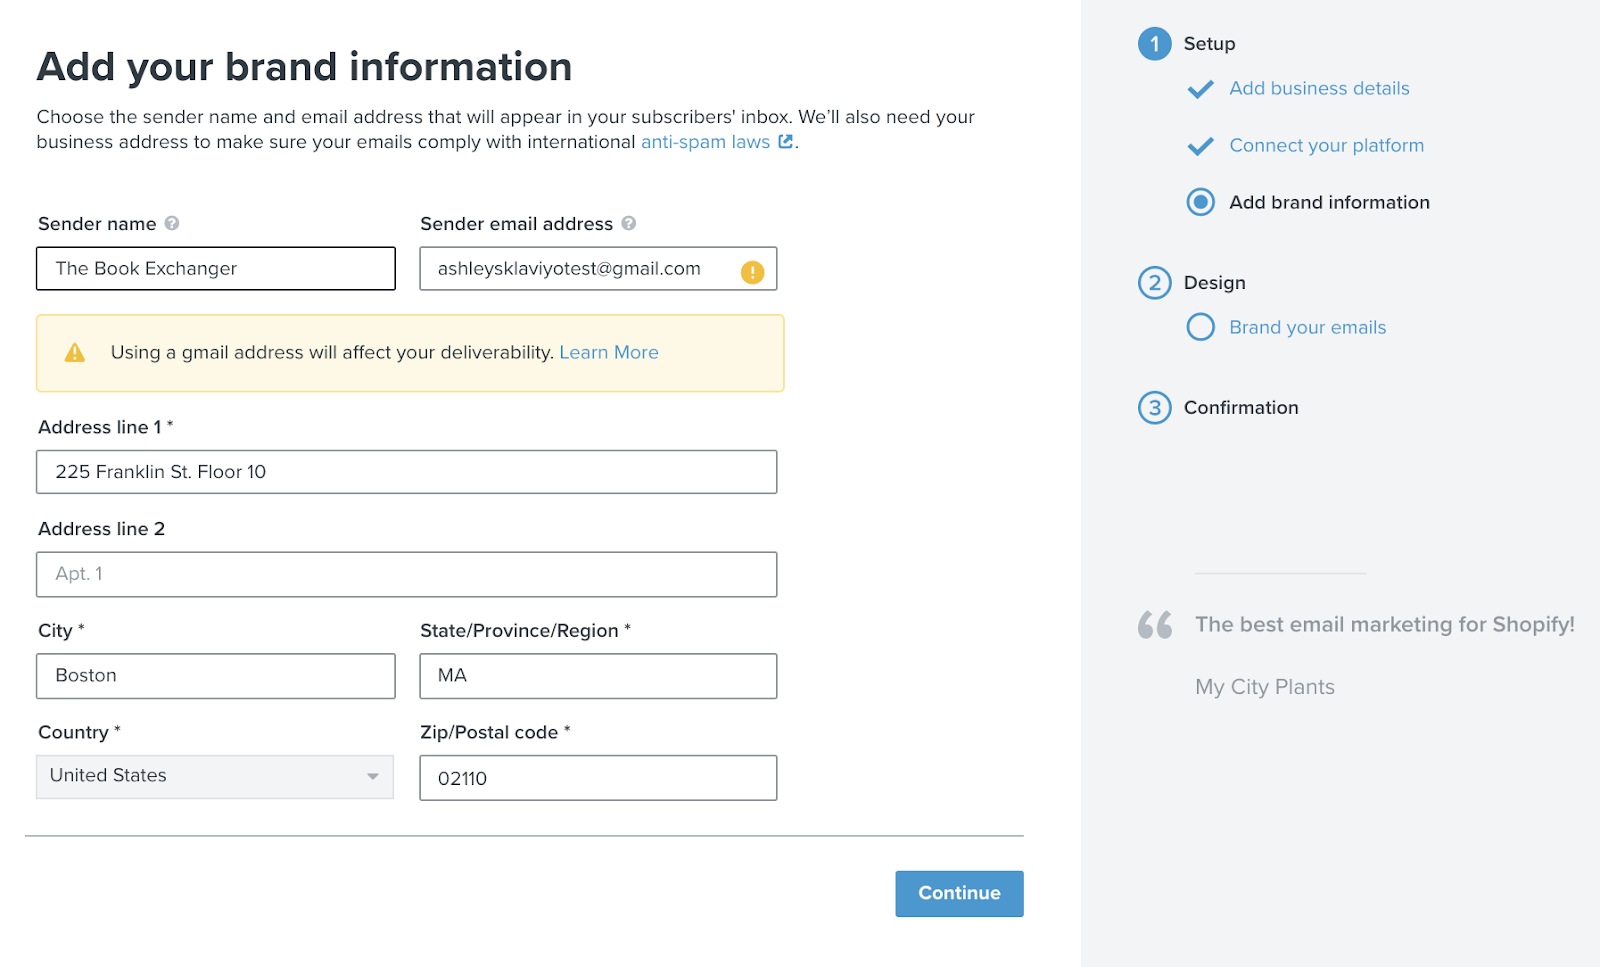
When you click on Continue, you will be prompted to enter your business's physical address, as well as your sender name and email address. This information is required to proceed with the Setup Wizard. Your business address will be automatically filled based on the information Klaviyo synchronizes via your integration, but if you choose to skip the previous step, you will need to enter your address manually.
Your sender name and sender email address are the default name and email address from which your campaigns and flows will be sent. The sender name should give recipients a clear idea of who the email is coming from. For deliverability purposes, it is advised not to use an email address that is from @gmail.com, @yahoo.com, @hotmail.com, @aol.com, or @outlook.com. When sending emails in bulk, it's important to have a sender address that aligns with your website's domain. For example, if your website is pool-buddies.com, your email domain should also be @pool-buddies.com to ensure your emails do not get filtered into spam.
To have a sender email address for your business, you first need a website and domain. Many hosting providers allow you to obtain a business email address (sometimes for free) when you purchase a domain. Examples include Hostgator and Bluehost. If you already have a domain, there are providers that allow you to purchase a business email address separately, such as GSuite and Zoho. Click on Continue when you are ready.
Design Tab
Brand
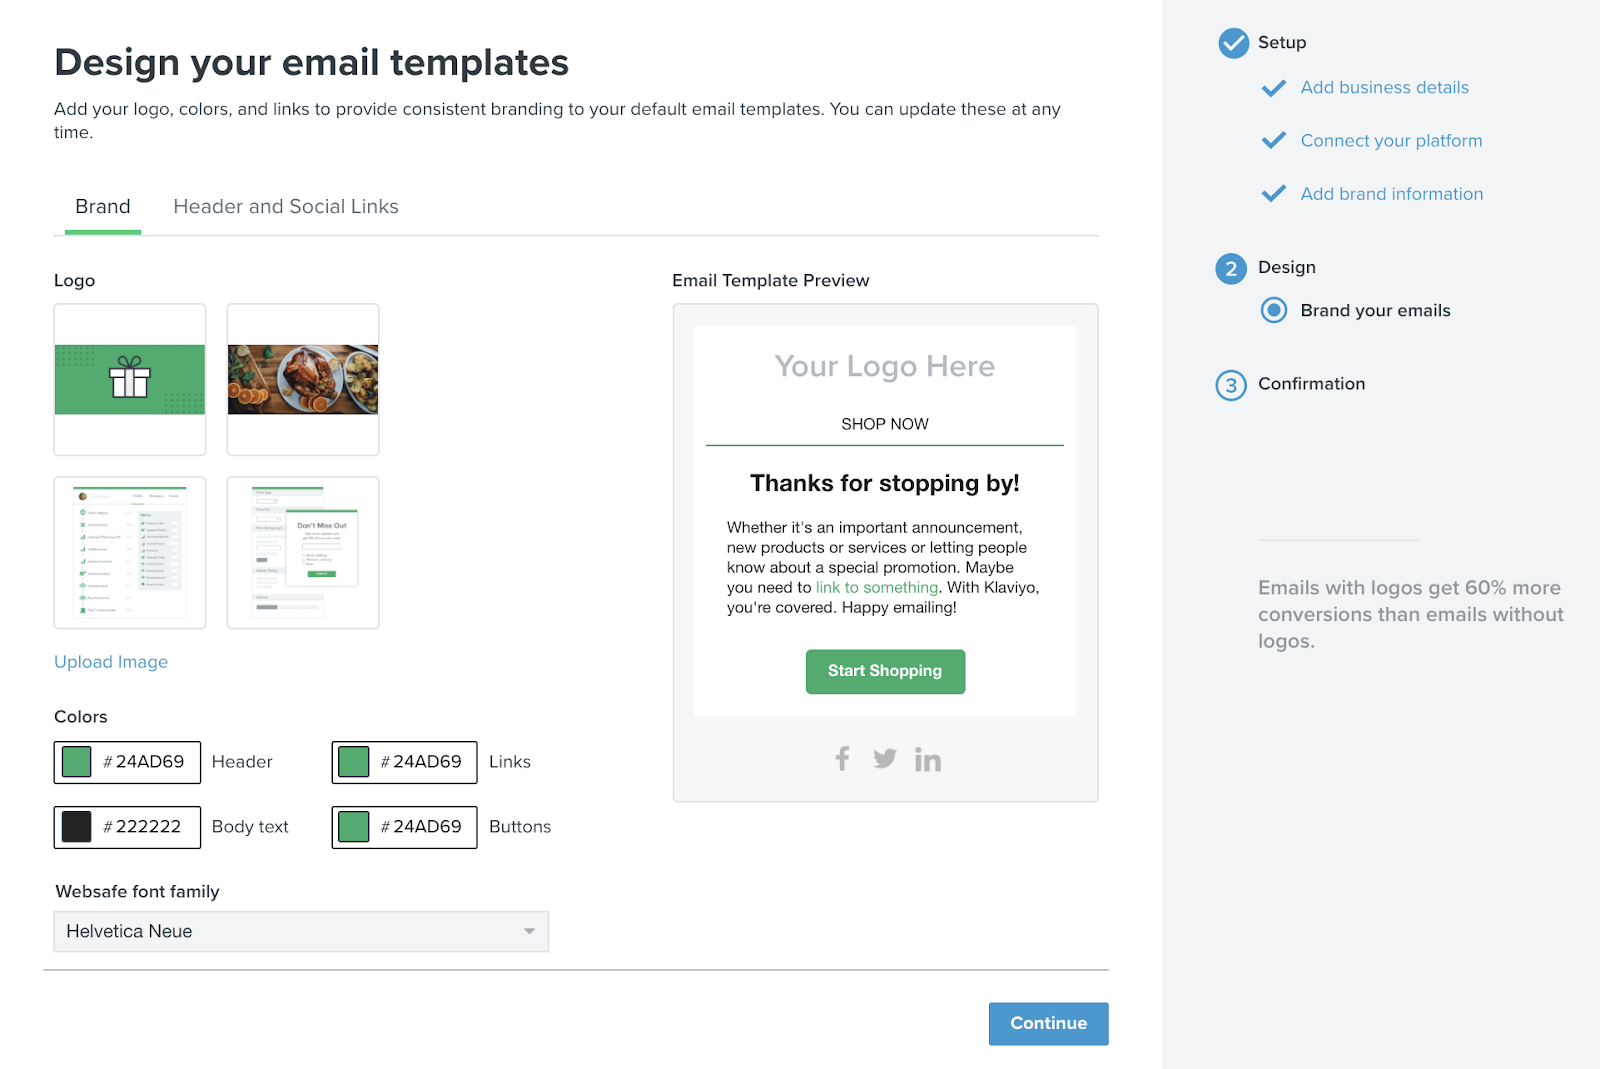
The first tab of the Design section will ask you to edit your brand information. This includes choosing a color scheme for your account, selecting a font family, and uploading a logo. Uploading a logo ensures that the standard email templates offered by Klaviyo include your logo at the top. We will automatically display logo options based on the images on your website, but if your logo is not pre-filled, you can easily upload it by clicking on Upload Image.
Once you have completed this step, click on Continue.
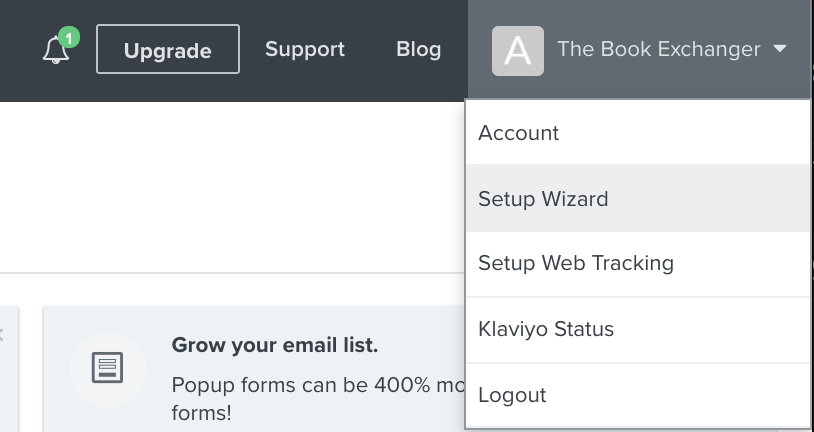
If you change your logo or decide at any point that you want to use a different image, color scheme, or custom font for your brand, you can return to this screen by clicking on the account dropdown and selecting Account > Setup Wizard. Then navigate back to the design section. While you can resize your logo when editing a specific template, it is advisable to upload a logo with the correct dimensions so that you don’t have to redo this for every template you decide to use.
Header and Social Links
The header and social links are used in your standard email templates and can be edited on the second tab of the Design section. The header links will be displayed in the navigation bar, while your social links will appear in the footer of your templates. Select no more than four header links to ensure your template does not look cluttered. Then, choose as many social links as are relevant to your business so that email recipients can connect with you on social media.
Once you are satisfied with the header and social links, click on Continue.

Confirmation
Email Verification
The final step to create your Klaviyo account is verifying your email address. This email address is the primary means of communication with Klaviyo and will be stored in your account.

First, go back to the inbox of the email address you signed up with. There will be an email from Klaviyo with a link indicating that you have confirmed your email. Click on Confirm Email.
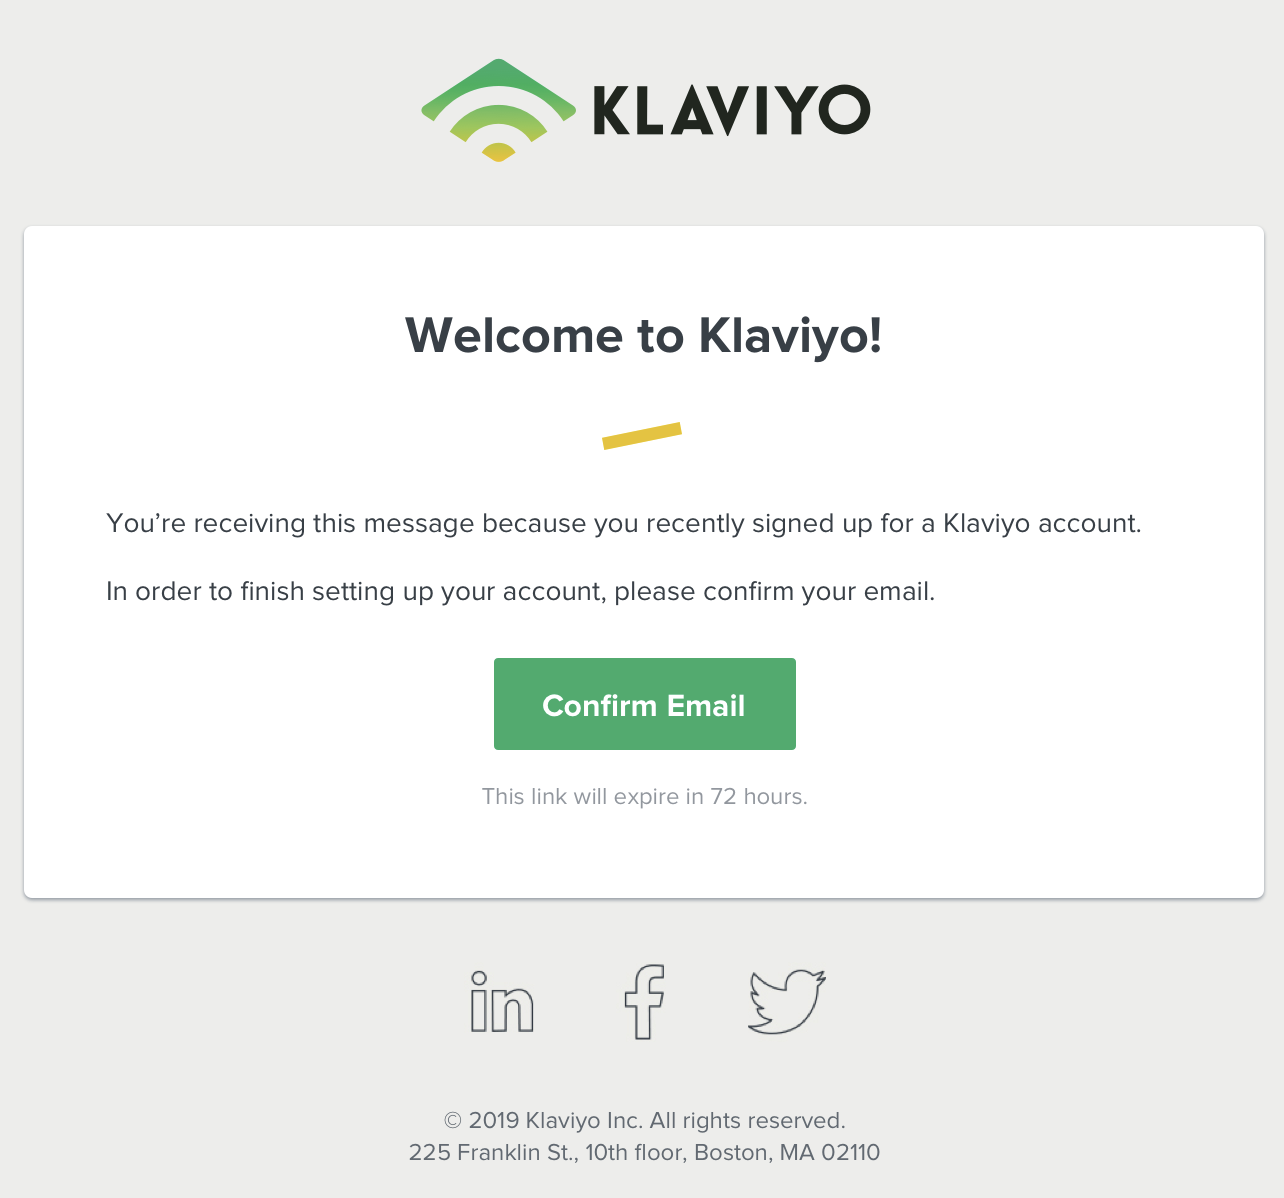
Please note that the verification link expires after 72 hours. If you click this link afterward, you will be redirected to an error page—or to the login page if you are no longer signed into your account—and you will receive a new email from Klaviyo with a new link to use.
If you did not receive that email from Klaviyo, you may have typed the wrong email address. Select Update Email to correct your email and send the link to a different inbox. You will be prompted to enter your corrected email address. Once you have done this, click Update and Resend.
You cannot enter an invalid email address or one that has already been used to create another Klaviyo account.
If you still have trouble confirming your email, please contact Klaviyo’s Support Team for further assistance.
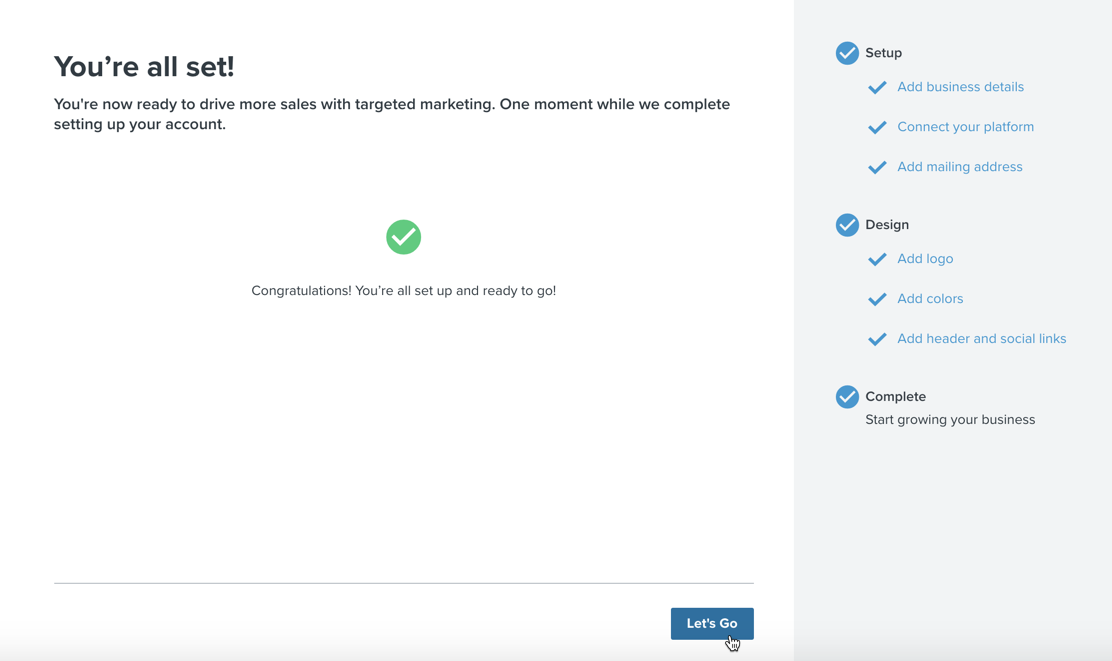
Setup Complete
Once you have configured your setup, made design choices, and confirmed your email in the Setup Wizard, you are all set! It may take some time for Klaviyo to apply all these settings to your new account. Once this process is complete, click on Let's Go to be directed to your dashboard.
Web and Viewed Product Tracking
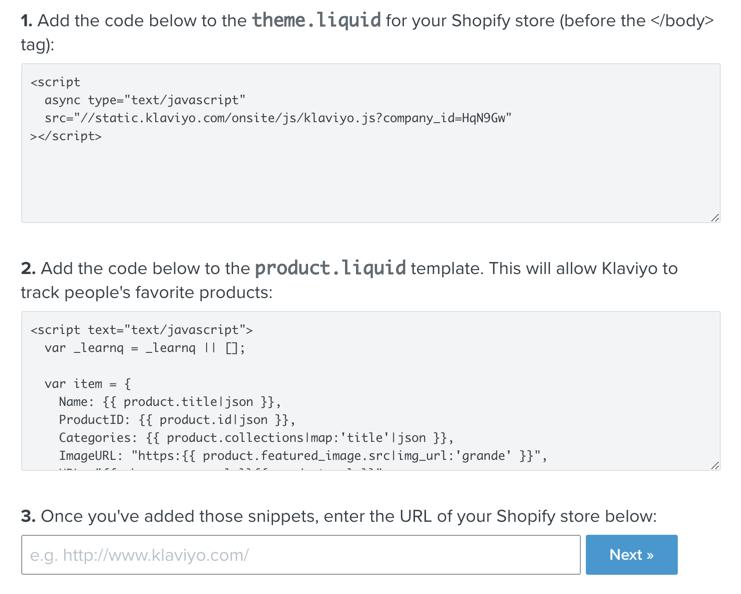
Some integrations require you to add additional code snippets to your website in order to track user activity on your site.
Web tracking corresponds to the Active on site metric, which allows you to monitor when users are browsing your website. This also enables you to automatically publish signup forms on your site.
Viewed product tracking aligns with the Viewed Product metric, which lets you track specific items that users are viewing on your website.
These code snippets include an ID that is unique to your Klaviyo account. You can access these snippets using your Klaviyo API key / Site ID, which is pre-filled by navigating to the web tracking page in the Setup Wizard.
Returning to the Setup Wizard
If you ever need to return to the Setup Wizard, click on the account dropdown menu and select Setup Wizard.
Additional Resources
- Getting Started Roadmap
- Guide for Your First Shipment
- Warming Up Your Sending Infrastructure (Domain/IP)

Blog posts van Polaris Growth
Andere artikelen


Polaris Growth is a CLV e-commerce agency. We support ambitious online stores with: Klaviyo CRM, conversion optimization, data & analytics and ecommerce strategy.