

Klaviyo's new template editor makes life much easier. The ability to update multiple emails at once saves you a lot of time. However, like with any new tool, it takes a bit of getting used to. To help you get started quickly, we’ll explain the key features.
New Features
The following features are only available in Klaviyo's new template editor. Still using the old template editor? Simply click "switch to new editor" in Klaviyo to access these new functions.
Sections
First of all, the Sections feature is useful for saving time. Sometimes, you want to use the same content across multiple emails. For instance, if you use identical information in every footer, make your life easier by creating and saving a single section for all footers. This way, you can easily reuse the same footer across multiple emails.
Want to know how to create sections? You can read all about it here.
Universally Saved Content
We’ve already mentioned the game-changer: universal saved content here. You’re probably familiar with the tedious task of manually updating every single header because you forgot to change one word. Indeed, a boring and time-consuming task. But with Klaviyo’s new template editor, this is a thing of the past. Now, you can save blocks universally. By saving a section or block as universal content, you can edit all saved instances at once—yes, all of them.
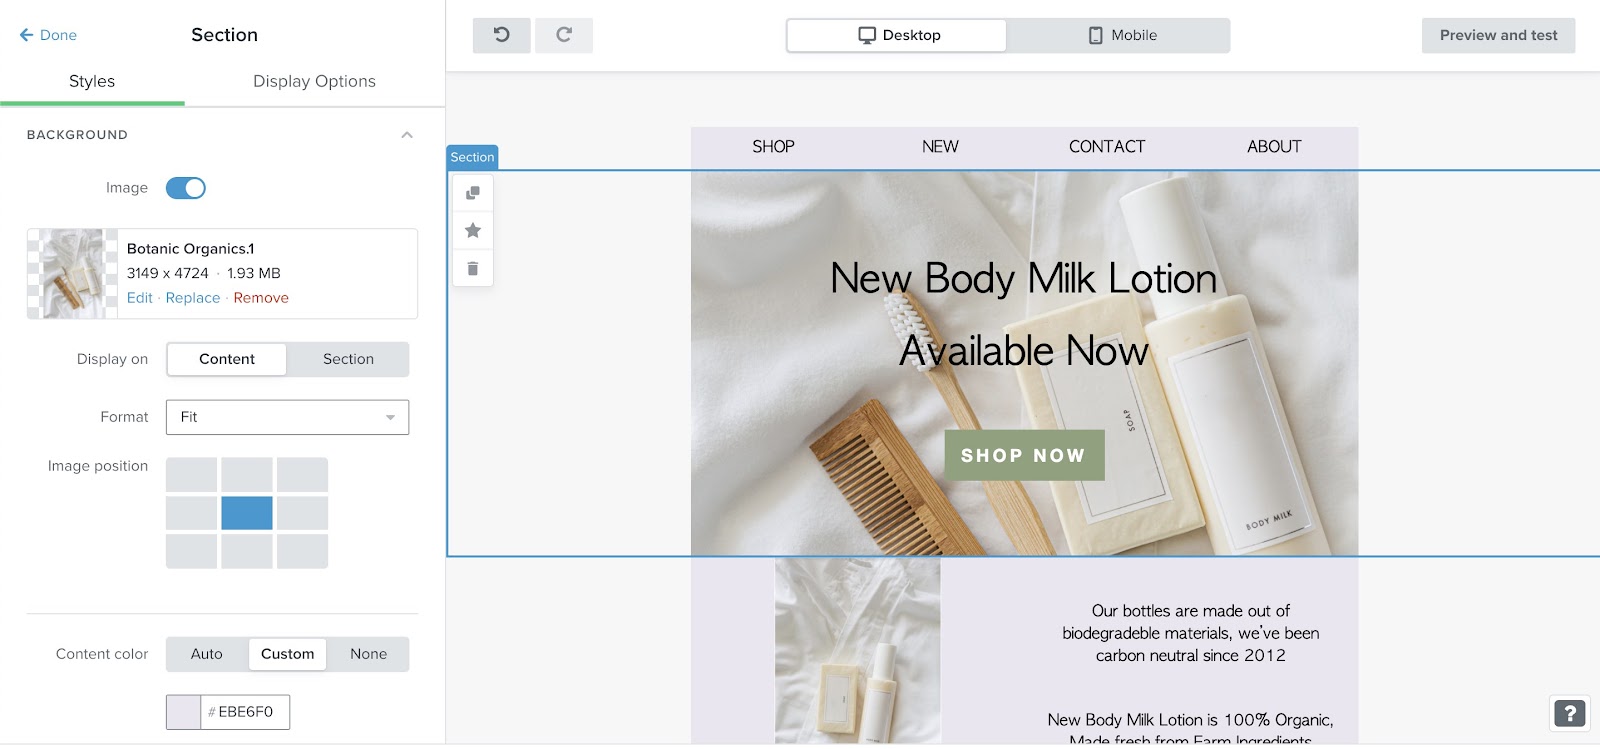
Background Images
Another useful feature is the ability to add overlapping text. If you add a background image to a section, you can now easily place text over the image. In the classic editor, this was only possible through coding. But that’s no longer necessary! Check out how to set a background image in the new editor here.
Repeating Content
In the classic editor, you could repeat blocks based on dynamic data. In the new template editor, this is also possible for entire sections with the content repeat feature. Read more here.
More Preview Options
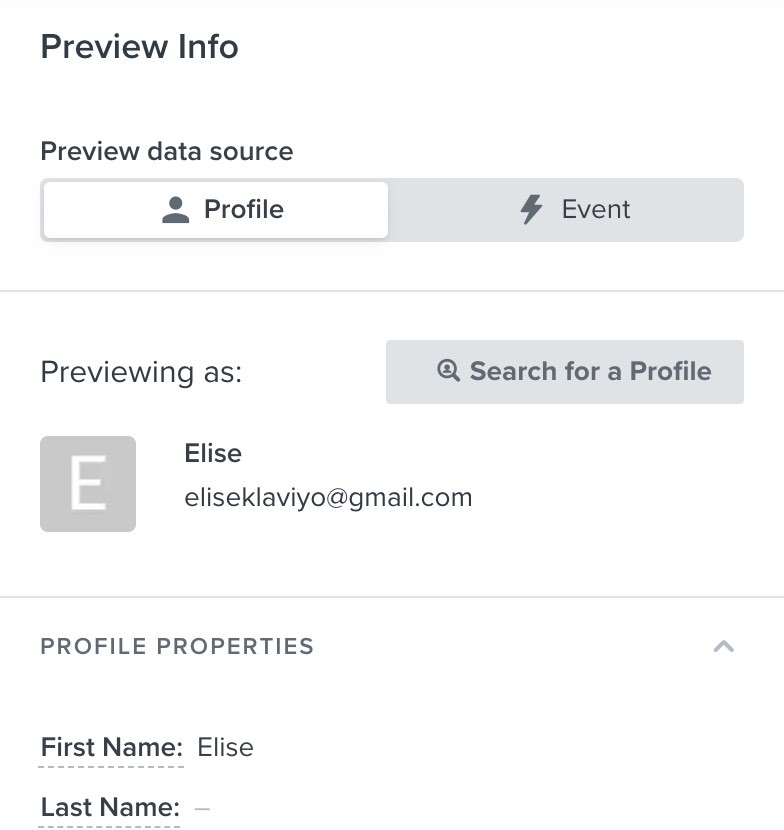
The preview options have also been expanded in the new editor. You can now preview with profile and event data. This data-based preview allows you to see how the template looks before adding it to a campaign or flow. Super handy! How do you do it? Select "preview and test". Then click on "search for a profile" to use profile data. You can also choose an event by selecting "event".
Undo or Redo
In our opinion, this new feature deserves the top prize... the ability to undo actions is finally here! You can easily reverse any mistakes by clicking "undo". Plus, you can reapply changes with "redo". This saves a lot of frustration when an error occurs.

Custom Fonts
In Klaviyo’s new template editor, you can add a custom font with just a few clicks. Once you've added the font to a template, it will be available in all font menus, even in the "signup form editor".
Differences Between the Classic and New Editor
Are you used to Klaviyo's current editor and not quite ready to switch to the new one? You might want to reconsider, as the new version can save you a lot of time. To make the transition easier, we’ve outlined the key differences between the two editors. This way, you’ll be ready for the switch in no time!
Adding Columns
New Template Editor
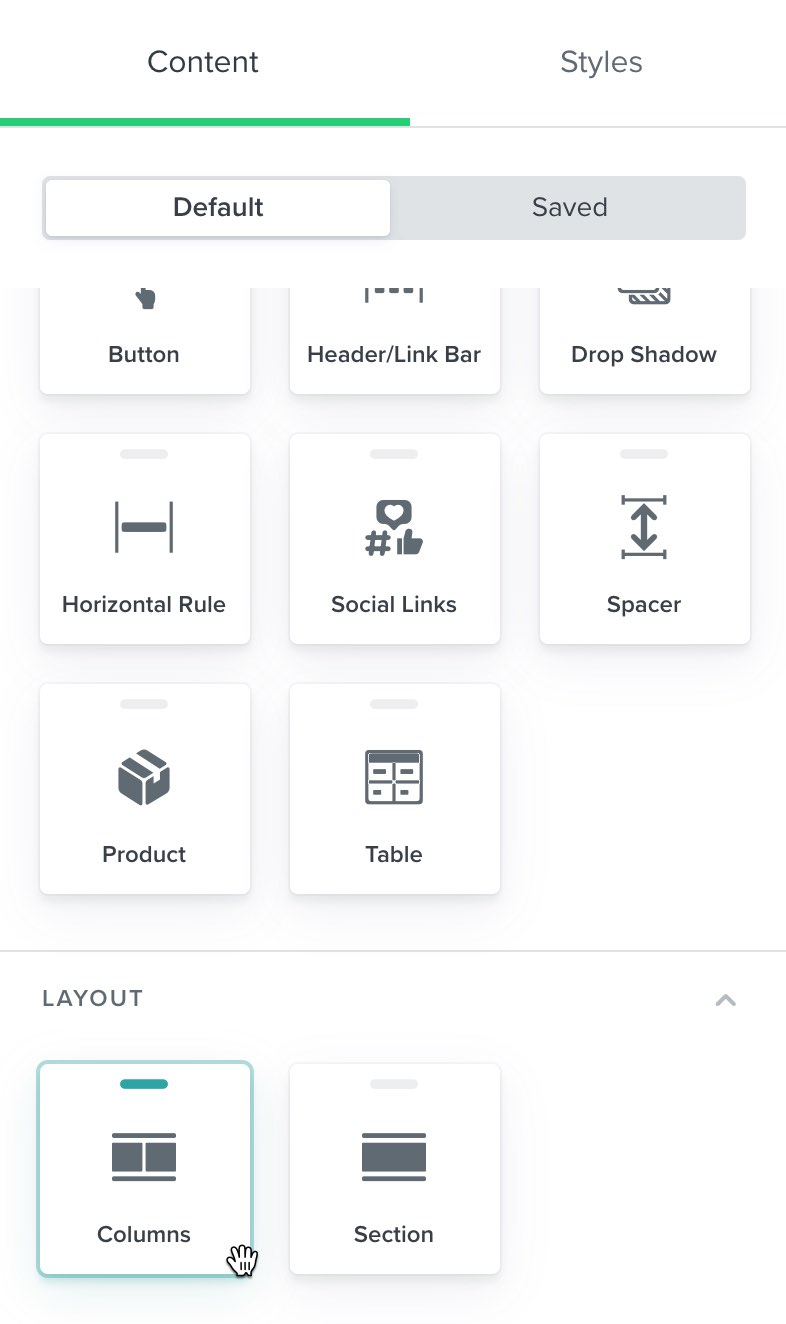
In the new editor, you add columns by clicking on "content". Then, select the "columns" option. You can drag these columns to the desired spot in your email. And voilà... the column is in place!
Classic Template Editor
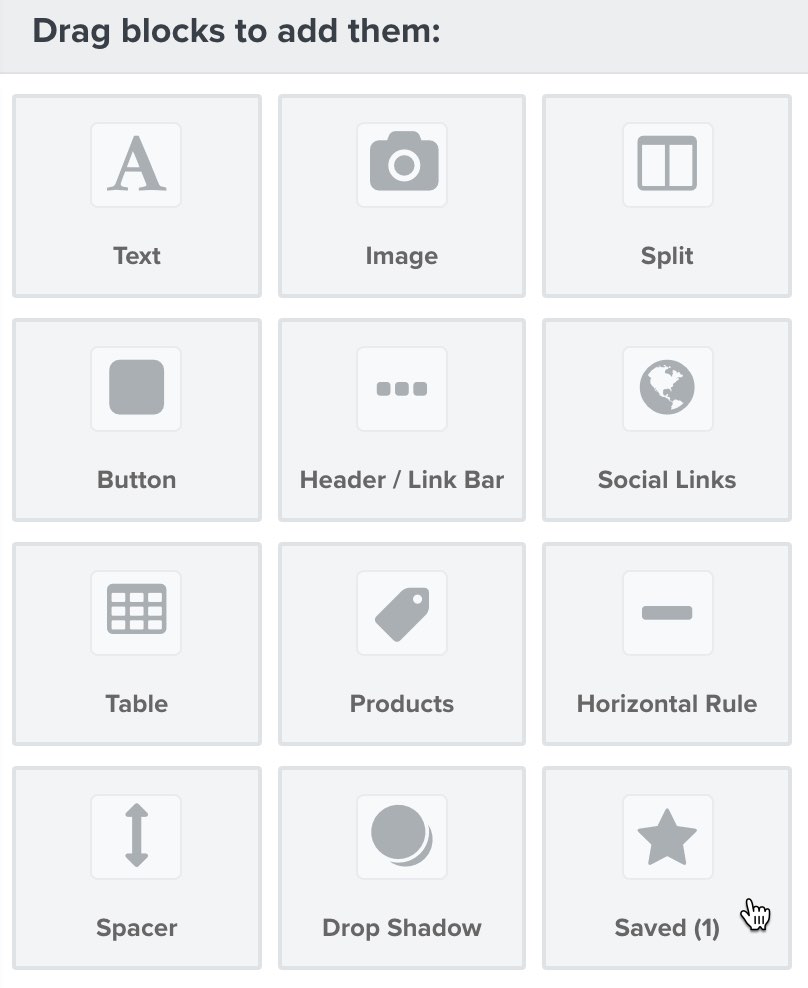
In the classic, "old" editor, you add columns by clicking on "blocks". Then, select "add columns to email". The columns will then appear in the email you’ve created.
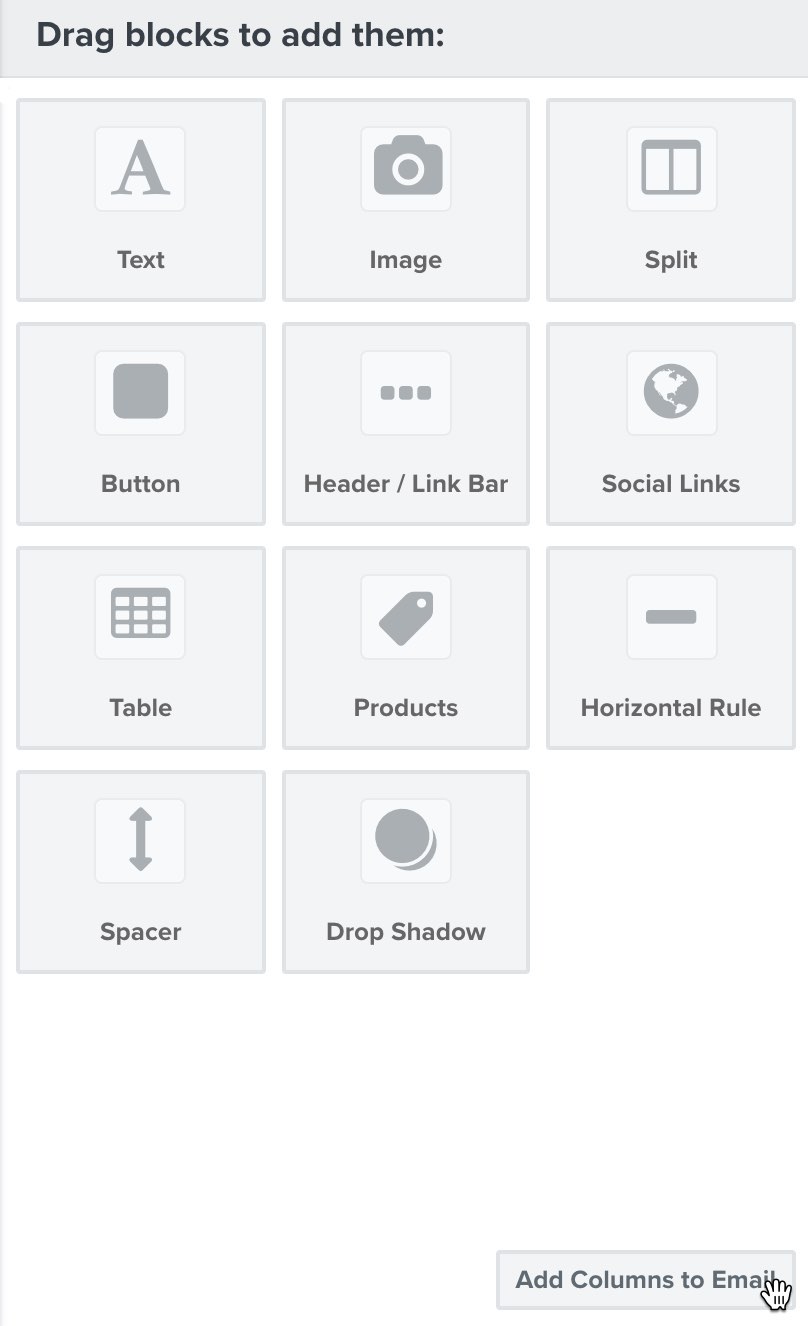
Table Blocks
New Template Editor
With the new editor, adding content is super easy. To add content to your table, first go to the "content" tab. Then, click on the cell you want to edit.
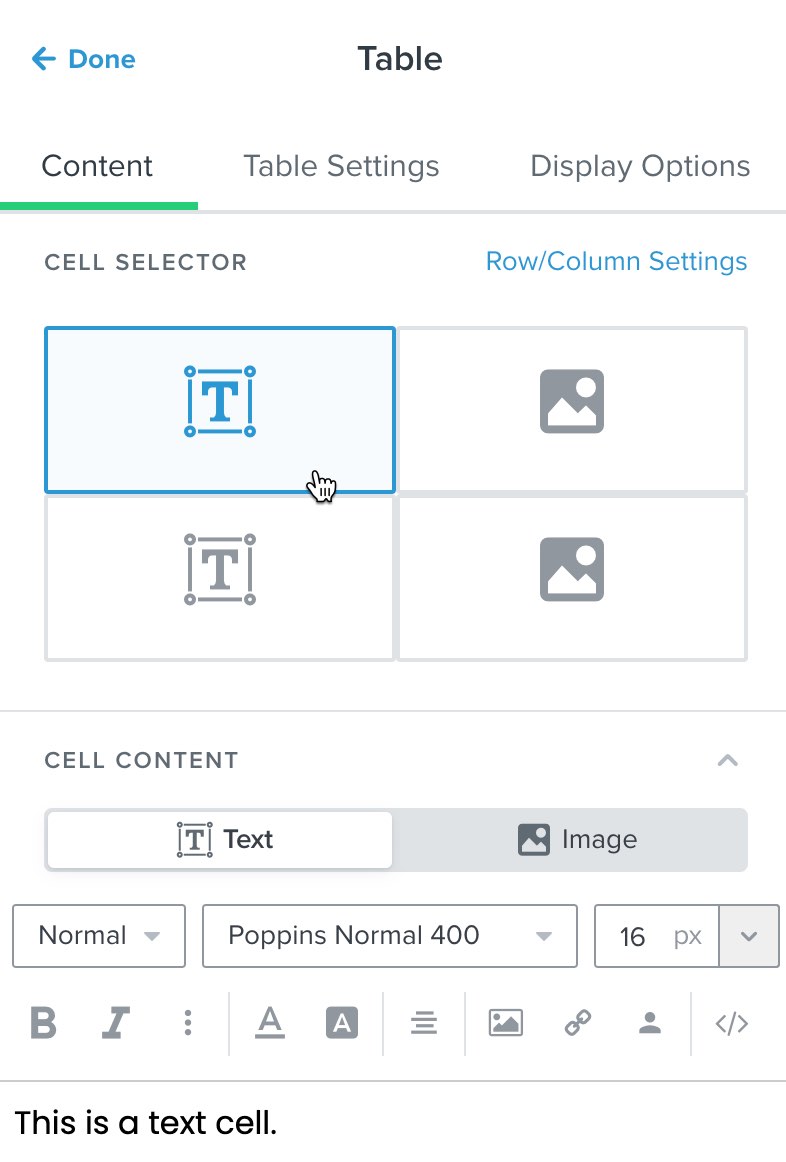
Do you want the table to appear only once? Then, under "table settings", select "static". If you'd like the table to repeat, choose "dynamic". You’d use "dynamic" for something like an abandoned cart email or purchase confirmation, where you can display multiple products in a single block. After that, adjust the number of rows/columns by clicking on the "table settings" tab.
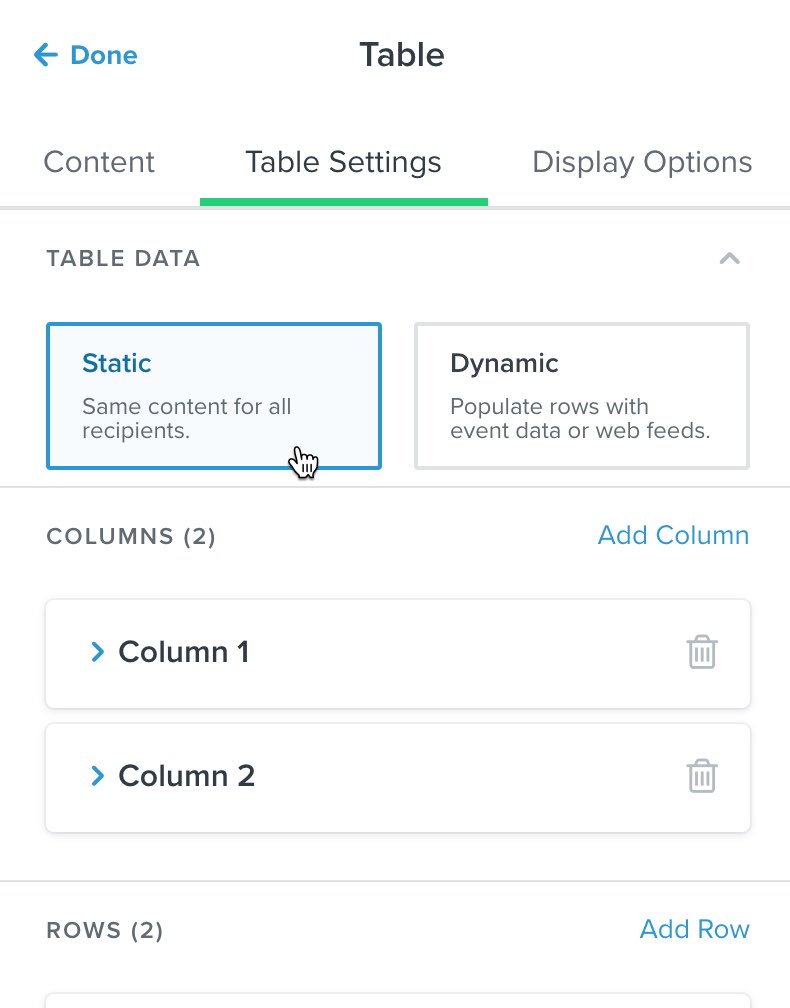
Finally, you can customize the table's appearance under the "display options" tab.
Classic Template Editor
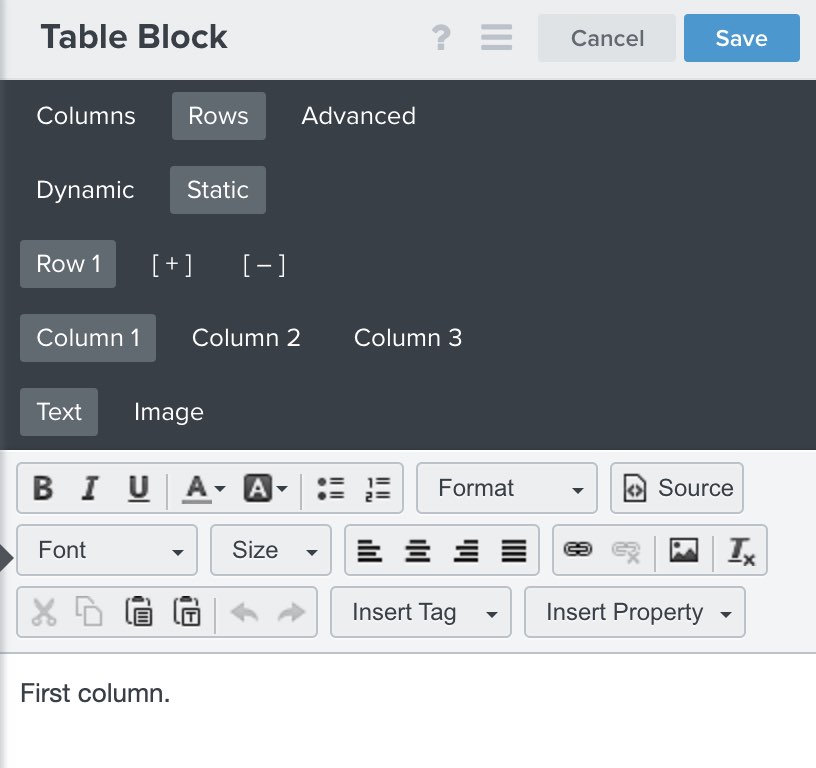
In the "old editor", you first go to "table block" and then select the "columns" tab. In this tab, you can add, remove, or label columns.

To add content to your table, click on the "rows" tab. Here, you can directly choose between "static" or "dynamic" content. As in the new editor, you use "dynamic" content for emails like an abandoned cart email.
Saved Blocks
New Template Editor
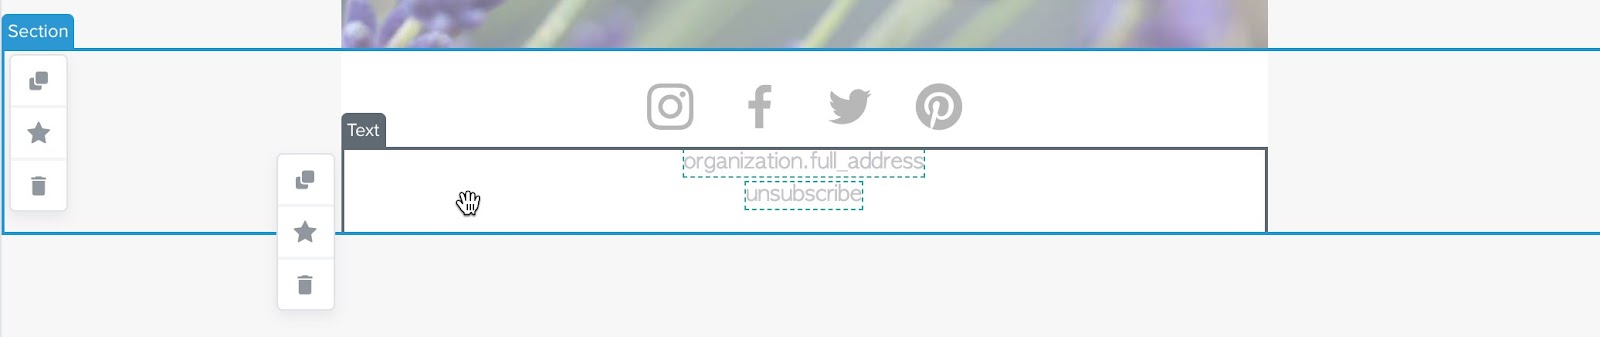
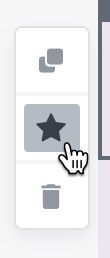
In the new editor, you can easily save blocks and sections by clicking the star icon when hovering over them.
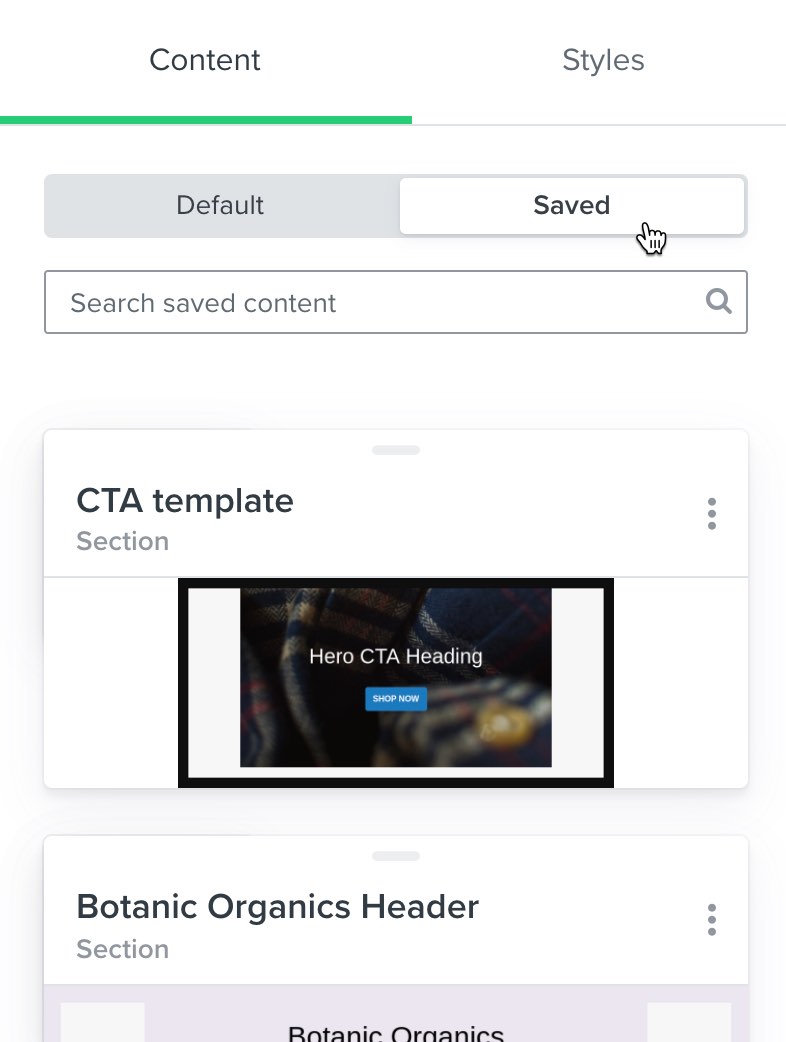
To view or add your saved content to a template, select “content”>“saved”.
Classic Template Editor
In the old editor, you also save a block by hovering over it and clicking the star icon.

To add a saved block to a template, simply drag the saved block to the desired spot.
Mobiele preview
Nieuwe template editor
In de nieuwe editor switch je gemakkelijk tussen de mobiele weergave en de desktop weergave. Dit doe je door bovenaan de editor op “desktop” of “mobile” te klikken. Je gebruikt deze knoppen ook om te wisselen tussen typen weergaven wanneer je kijkt naar profiel en eventdata.

Mobile Preview
New Template Editor
In the new editor, you can quickly switch between mobile and desktop views by clicking “desktop” or “mobile” at the top of the editor.
You can also use these buttons to toggle between views when previewing profile and event data.

Stacking Sections (Mobile)
New Template Editor
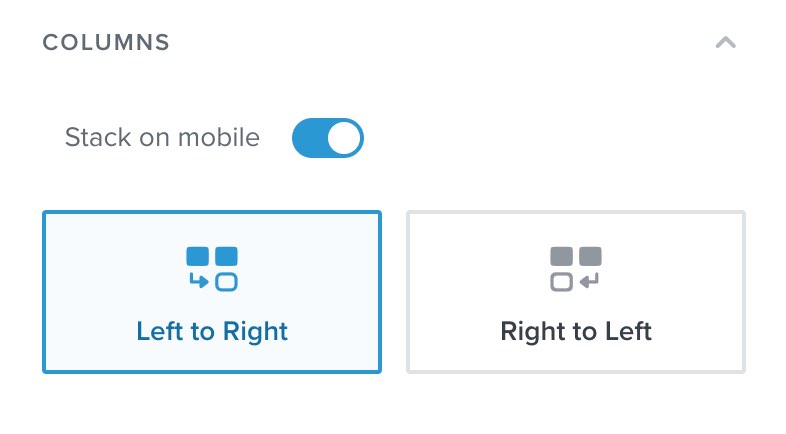
In the new editor, you can decide whether to stack the columns in a section when viewed on mobile. You can control this for each section under the "styles" tab.
Classic Template Editor
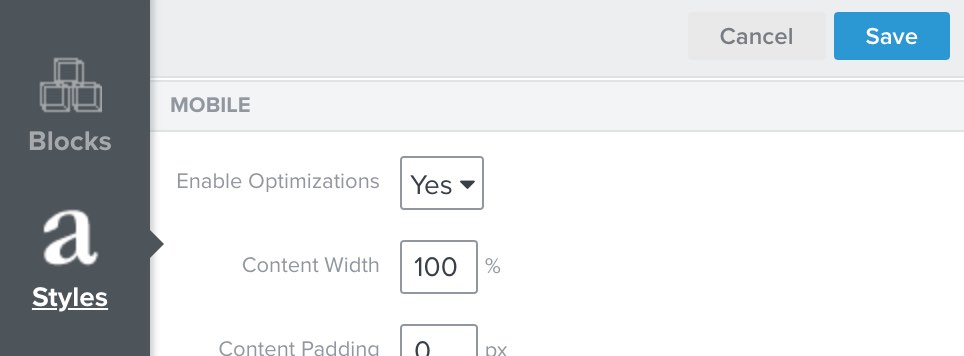
In the classic editor, content automatically stacks in the mobile version when "mobile optimization" is enabled. This ensures that the content is easier to read on smaller screens.
Show/Hide
New Template Editor
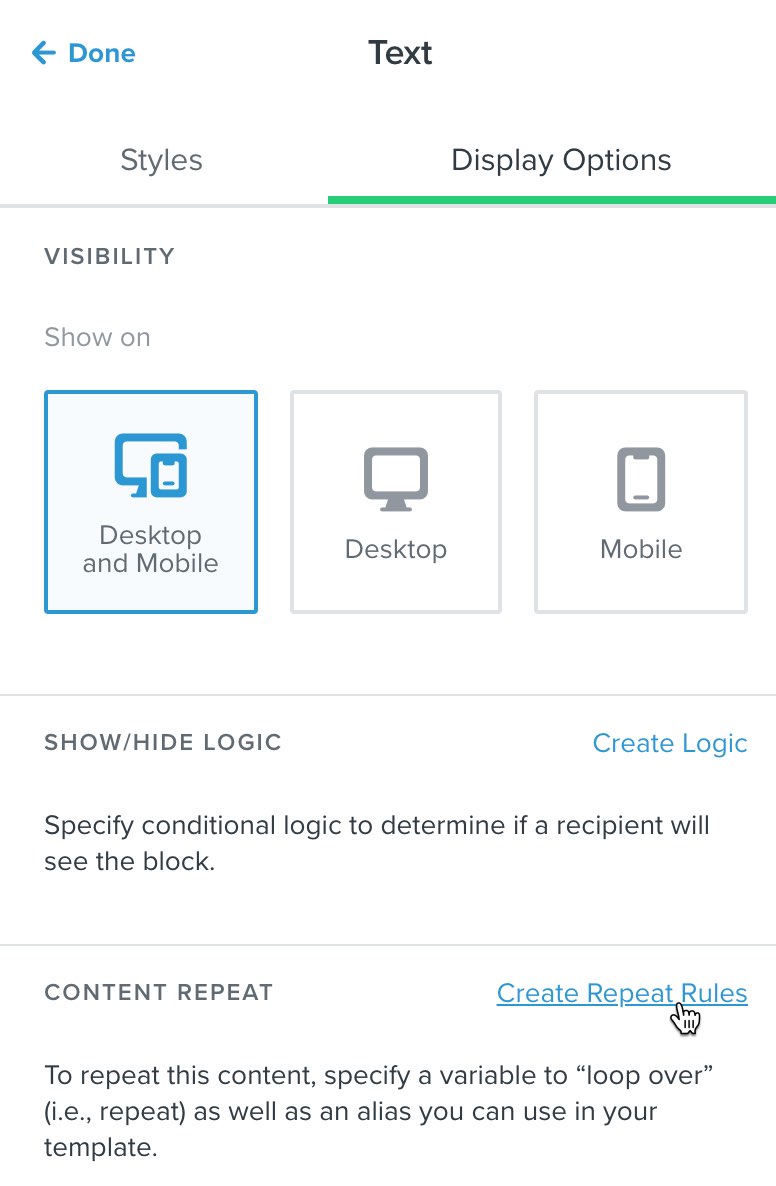
To add a show/hide rule to a block or section, click on "display options" > "create logic".

Classic Template Editor
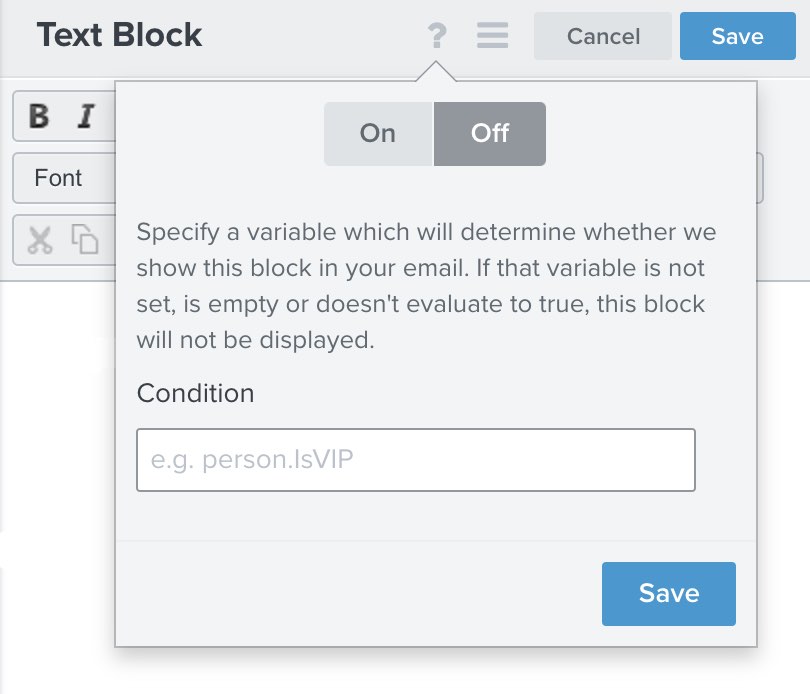
In the old editor, click on the ? icon in the block settings to set a show/hide rule.
Repeating Blocks
New Template Editor
To repeat a block or section in the new editor, click on "display options" > "create repeat rules".
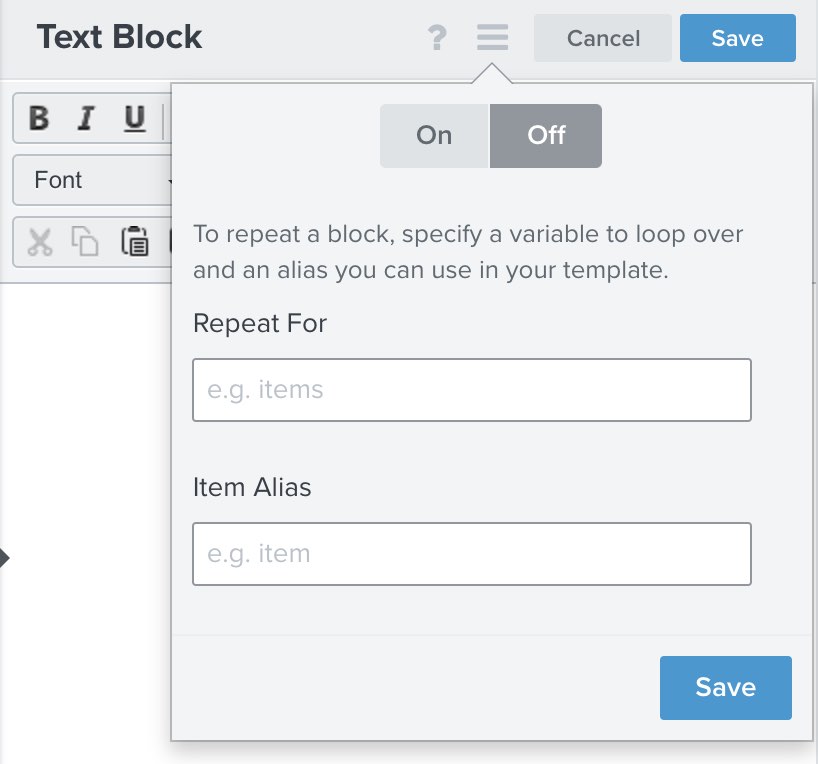
Classic Template Editor
In the old editor, you add a repeat by clicking on the icon with three lines.
Personalization
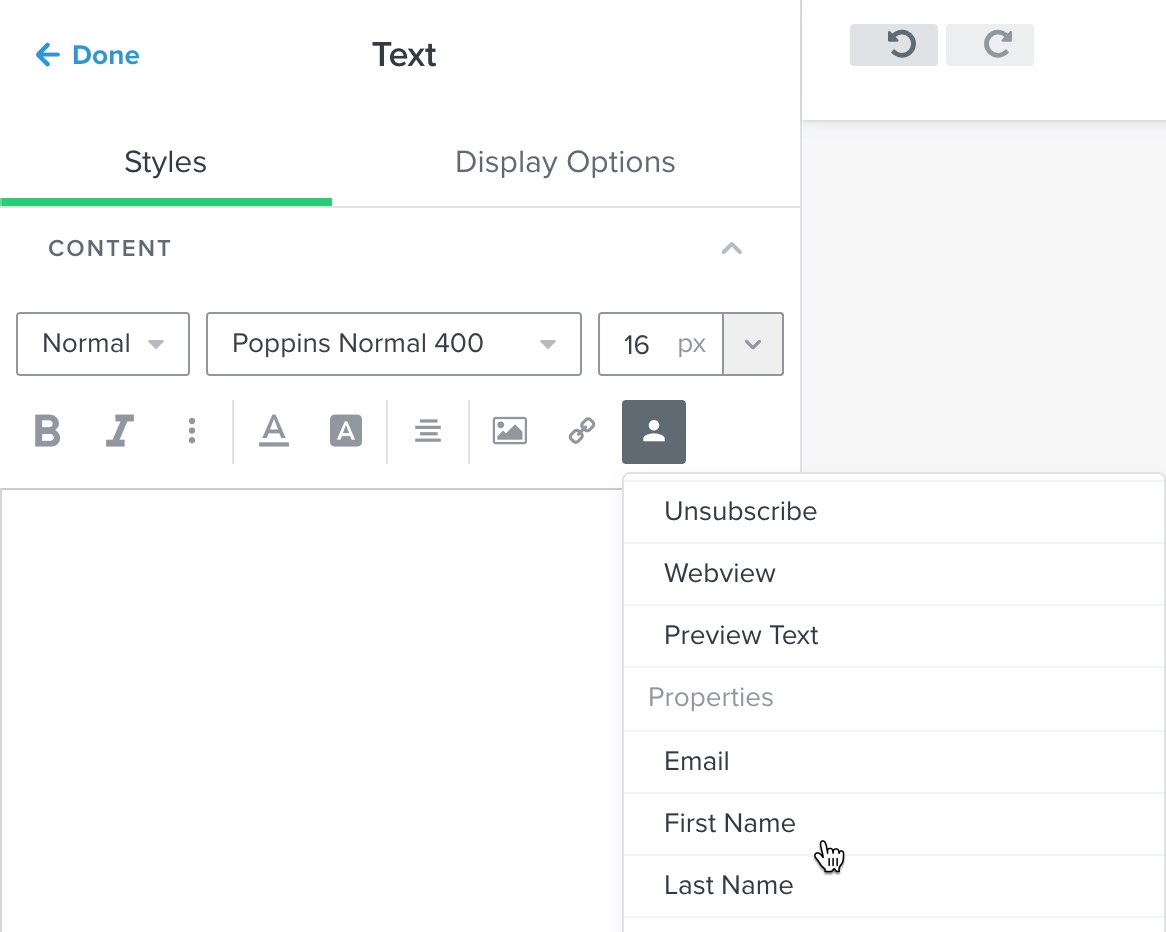
New Template Editor
To personalize an email, for example by adding the recipient's first and last name, click on the "person" icon. Then, select the details you'd like to add.
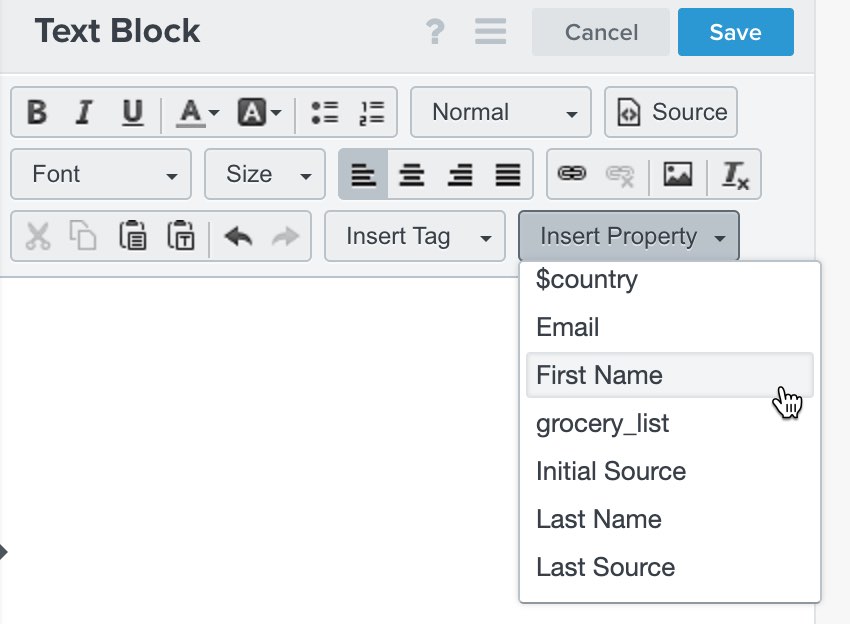
Classic Template Editor
In the old editor, to personalize an email, click on "insert property". A menu will appear where you can select the desired details, such as the recipient's first name or an unsubscribe button.
Excited about the new template editor? That’s great! Below you’ll find more articles to help you get started with the template editor.
- Guide for the email template editor (the new edition)
- Guide How do you access Klaviyo’s new email template editor?

Blog posts van Polaris Growth
Andere artikelen


Polaris Growth is a CLV e-commerce agency. We support ambitious online stores with: Klaviyo CRM, conversion optimization, data & analytics and ecommerce strategy.