Creating Coupons in WooCommerce


Overview
Sending coupons (discount codes) in emails is a great way to encourage new sign-ups for customers who may be on the verge of making a purchase but need a little push, or for customers who may be at risk of disengaging. This article explains how to use WooCommerce coupon codes and how to add them to Klaviyo emails.
Creating a Coupon in WooCommerce
To start, you need to enable coupons in WooCommerce if they are not already activated. After logging into WooCommerce, go to WooCommerce > Settings > General and check the box to enable the use of coupons. Then, save your changes.
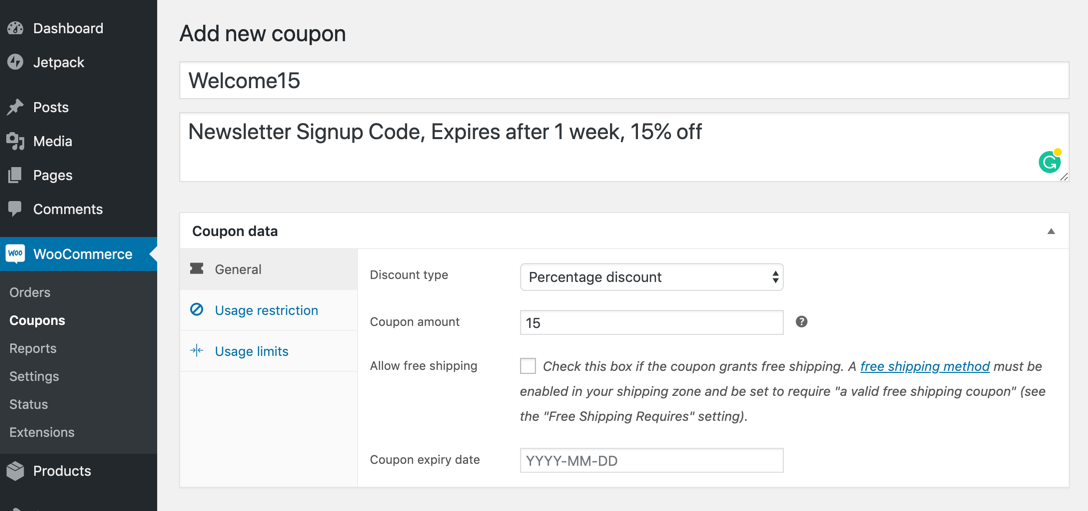
Next, go to WooCommerce > Coupons > Add Coupon to create a new coupon. Enter the information for the coupon code and a description for your own clarity.

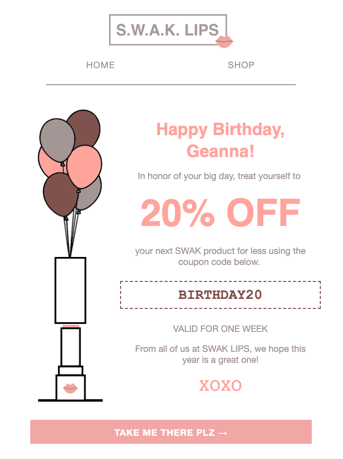
If you have any usage restrictions or limits, enter them in the corresponding tabs. Once the coupon is created in WooCommerce, you can use this static code as a text block in your emails. You can also add a border under the block styles tab to give the coupon a nice effect.

Practical Tips
Here are a few things to consider when using static coupons:
- If you’re concerned about coupons spreading to too many customers, check the expiration date and use a new coupon periodically as needed.
- Klaviyo does not manage any metadata about your coupons, including the code, expiration date, discount amount, etc. All this information is managed in your WooCommerce store.
- If you offer a coupon for a specific product, include a link to that product so your customers can easily click from your email to make a purchase.
%20(1).png)


